Moody Greens Lightroom preset - Available for desktop and mobile!

learn THE MAIN points you NEED TO KNOW to make this moody greens lightroom preset work perfectly for any of your shots.
Right, so I didn’t want to launch my own presets without making sure you know how to apply them.
So many photographers launch them but very few explain how they work. If your photography is completely different from the one that is mean to work with this preset, you will end up disappointed.
Moody Greens Preset will adapt AMAZINGLY with your photographs if you keep reading! So please follow along to see examples and learn the main insights you need to know.
I’m super excited about launching it. I’ve spent years perfecting it through different kind of shots during my travels around the world to make sure it was ready to be released. And finally, here it is! :)
For those who don’t own Adobe Creative Cloud, I also optimised it for mobile. This means that downloading the FREE Lightroom app in your phone, you will be able to get this look anyway! For your travel, landscape, wildlife, lifestyle and any photography work were you want to apply this moody look.
It does work perfectly for skin tones as well. I do a lot of portrait work myself and I needed to make sure of it! :D
Get the mobile version here.
what is a Lightroom preset?
A Lightroom preset is a saved file that contains all the Lightroom settings applied to a specific picture. This means that if you have a particular style, you can save it in form of a preset. This way, when you have more photography work to edit, applying this preset will save you tones of time! The new photo will take all the settings you saved in that preset.
However, you must know that Lightroom presets are not a one-click solution. Sometimes they are! But many times, you will need to know how to play with key settings within the Lightroom panels to make sure the preset works perfectly with your specific photo.
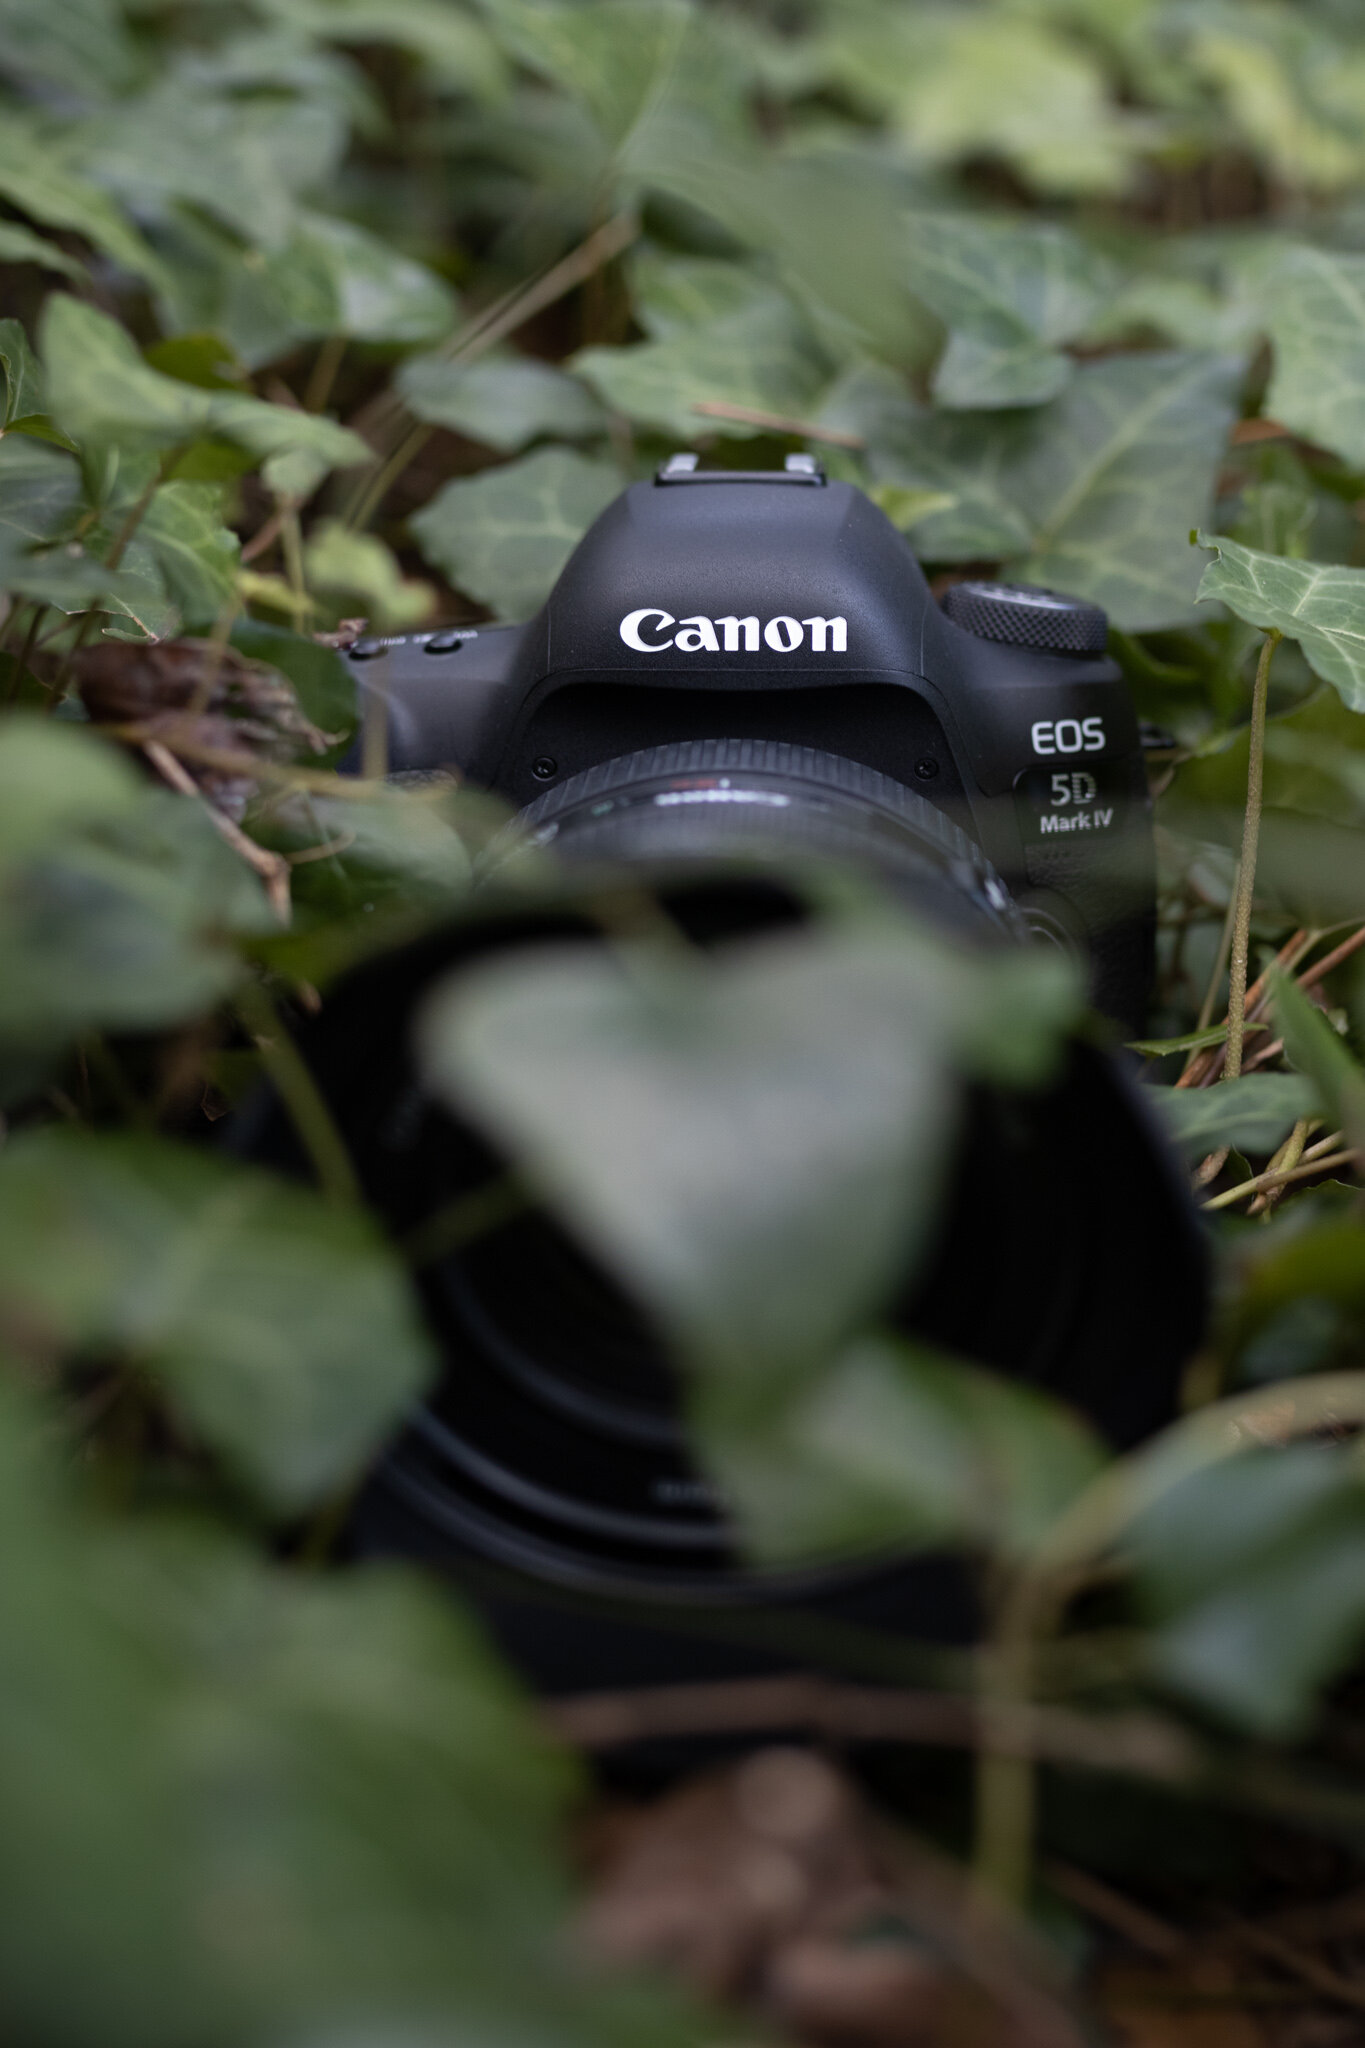
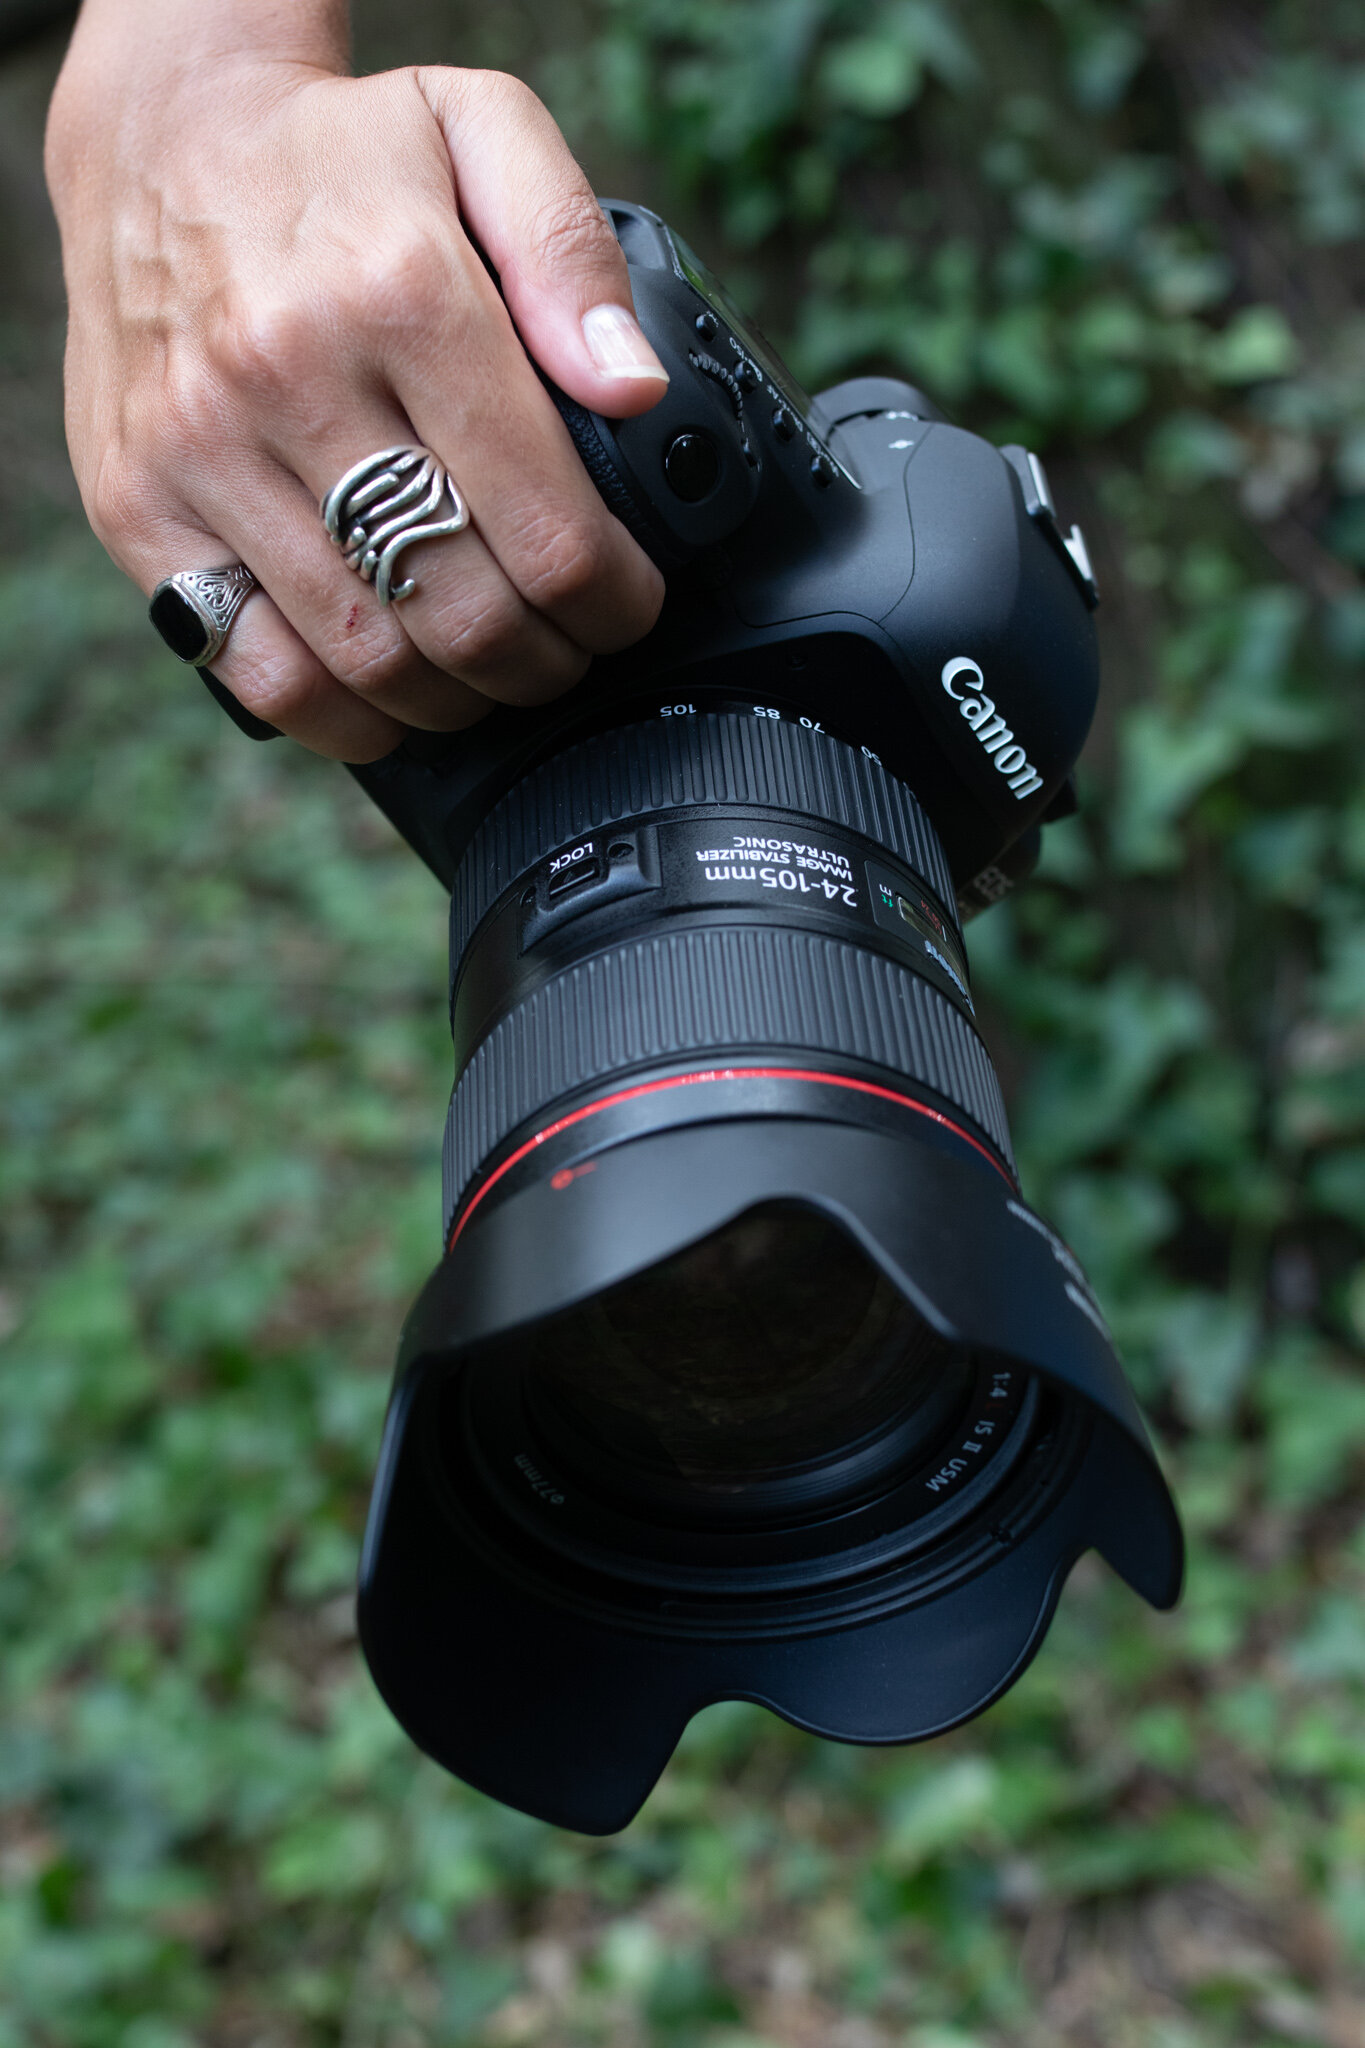
BEFORE PRESET
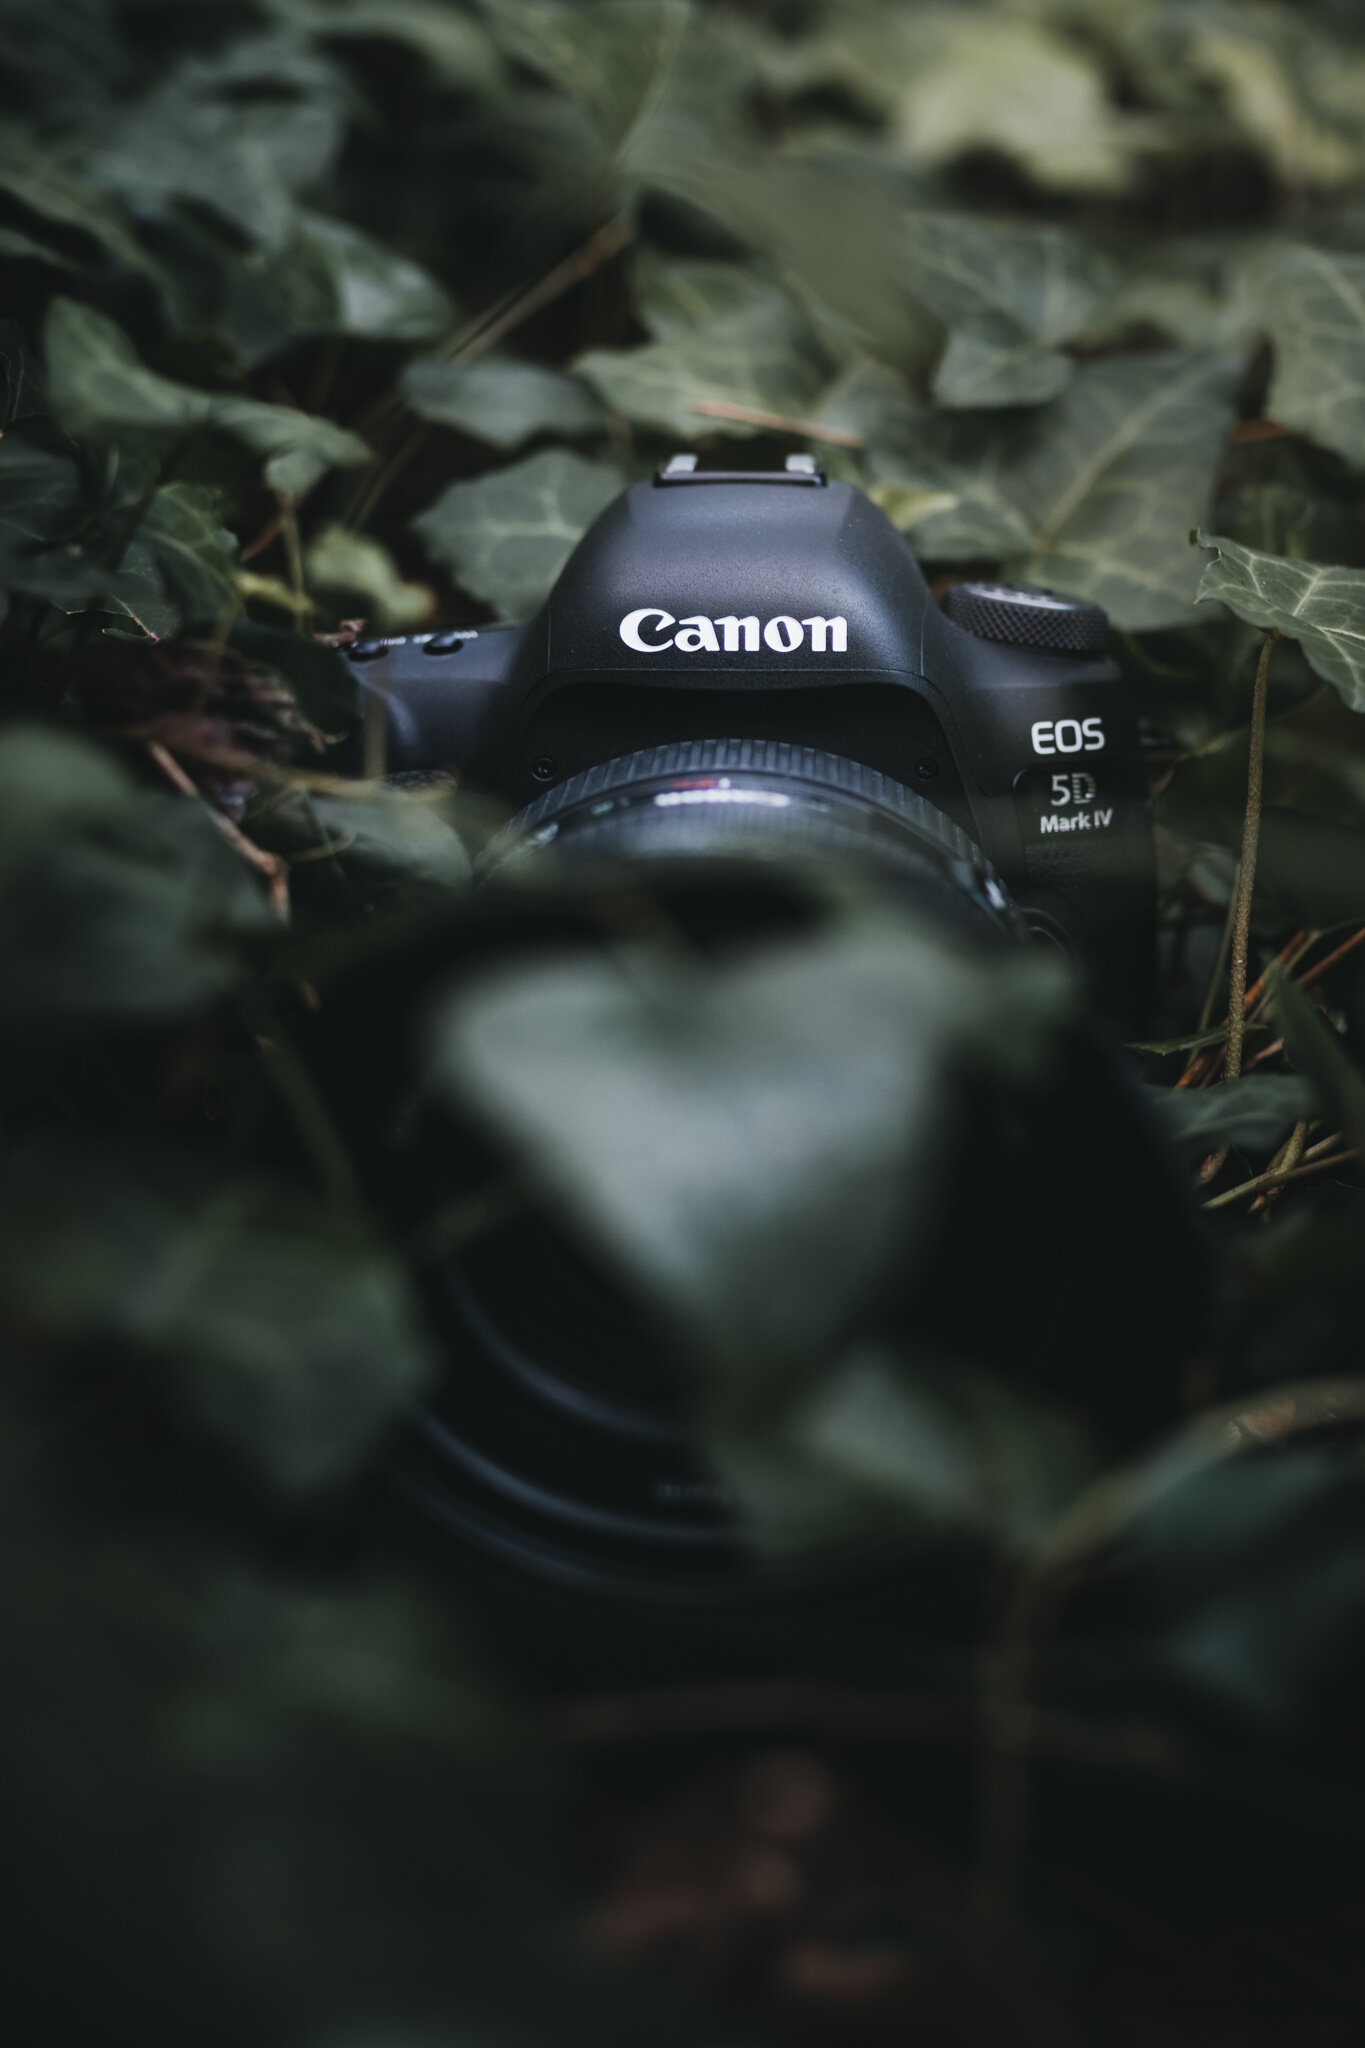
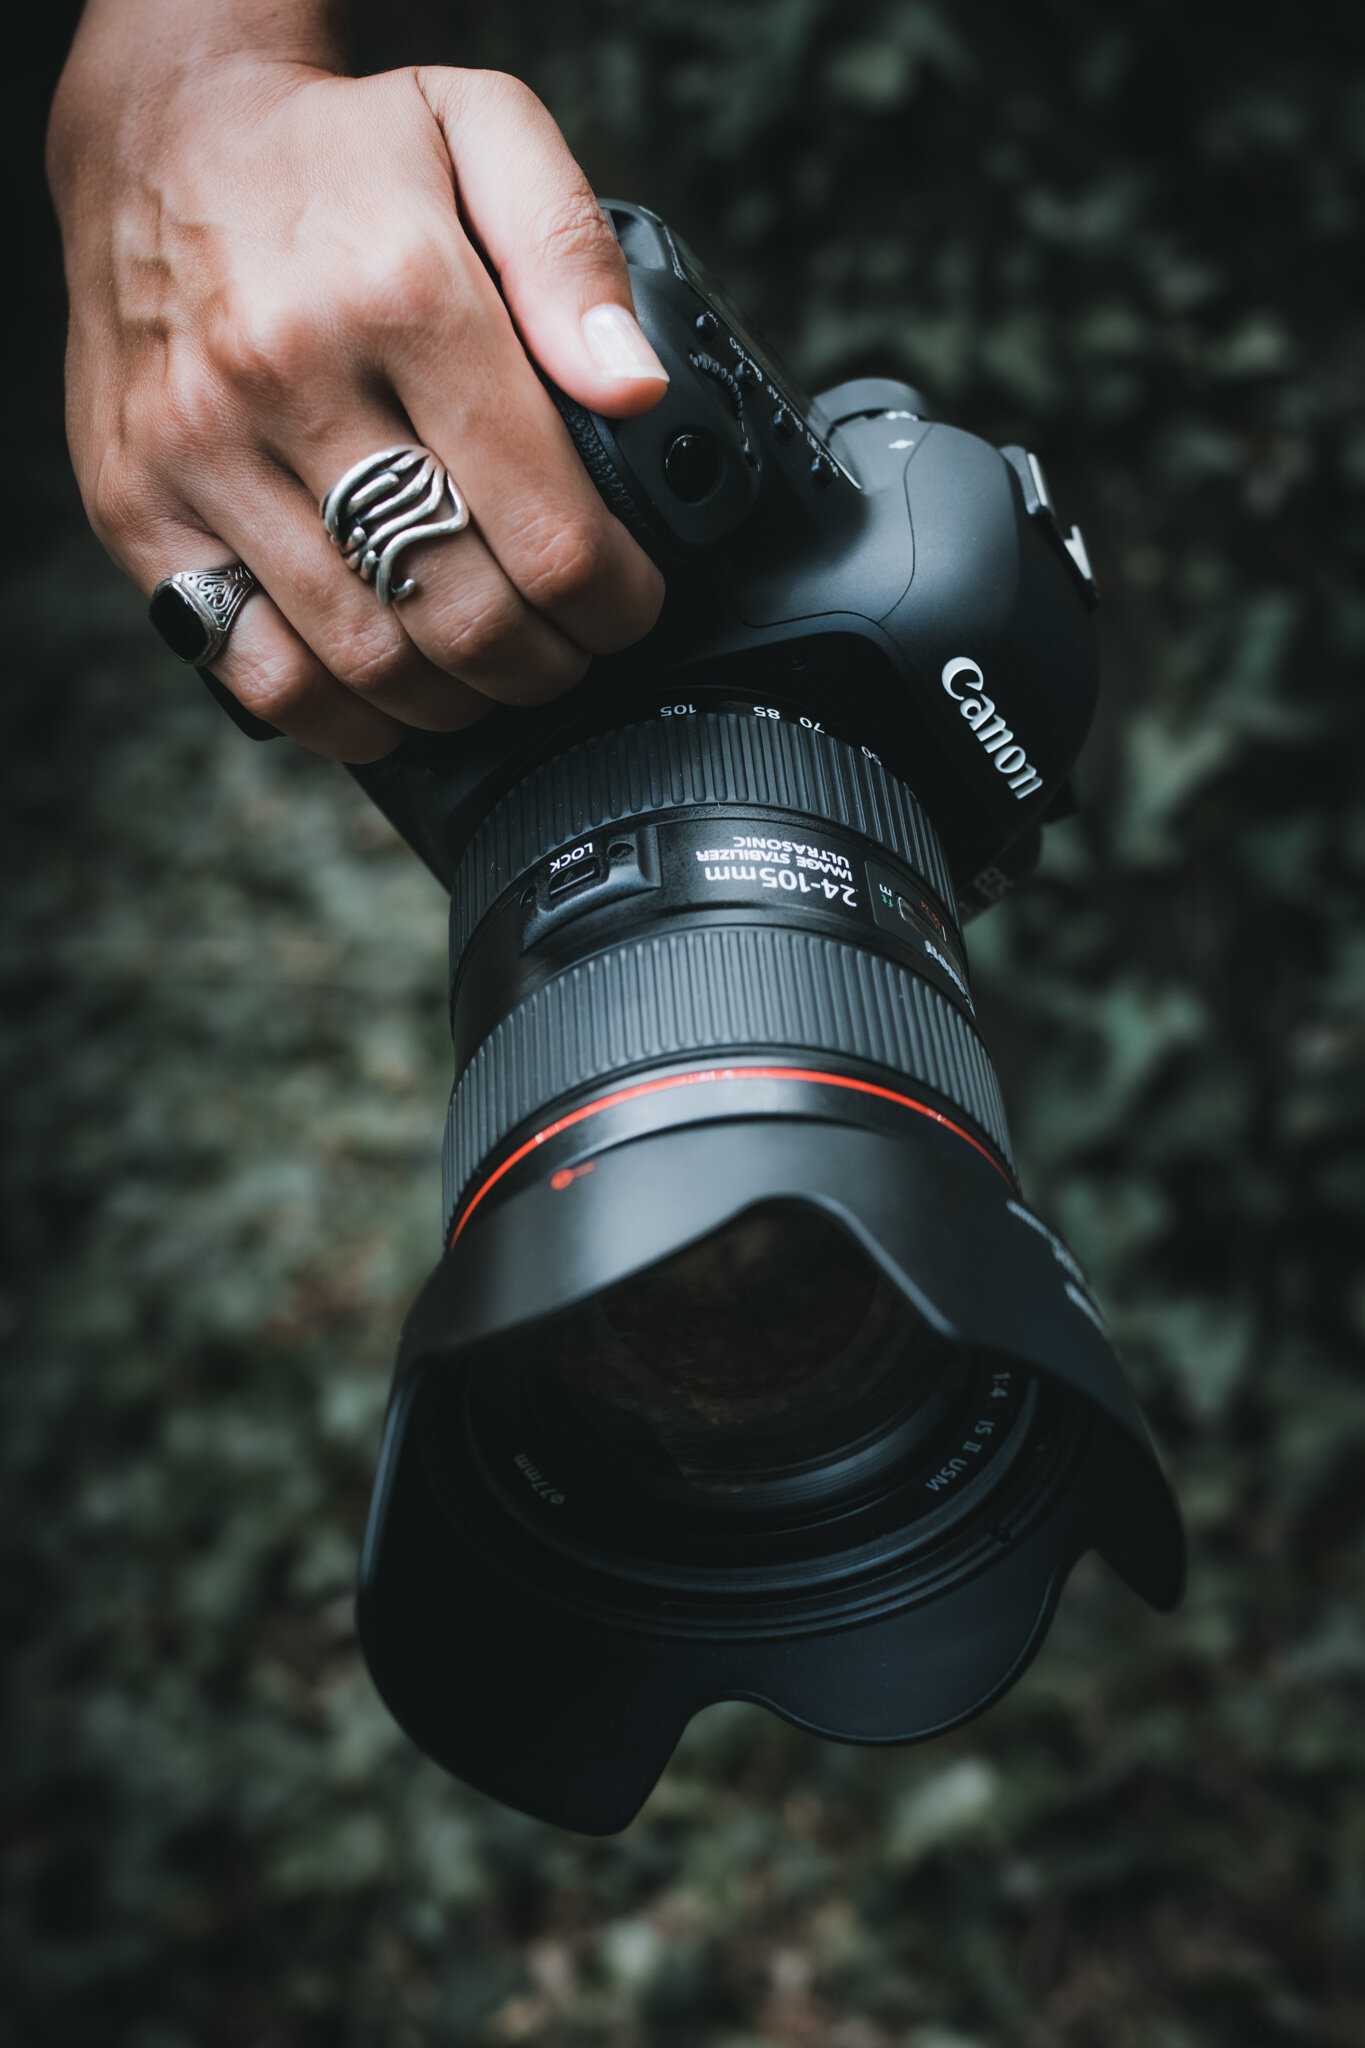
WITH MOODY GREENS PRESET
will this preset work for all your photos?
The answer is YES. And most of the time with a simple click. BUT, there are different factors you need to know about Moody Greens Lightroom Preset to make sure it works perfectly for all your photography work.
There is a guide included in the downloadable file and another guide I’ve created in my Travel Instagram account for you to know even more. Check it out here: @her.nomad.soul
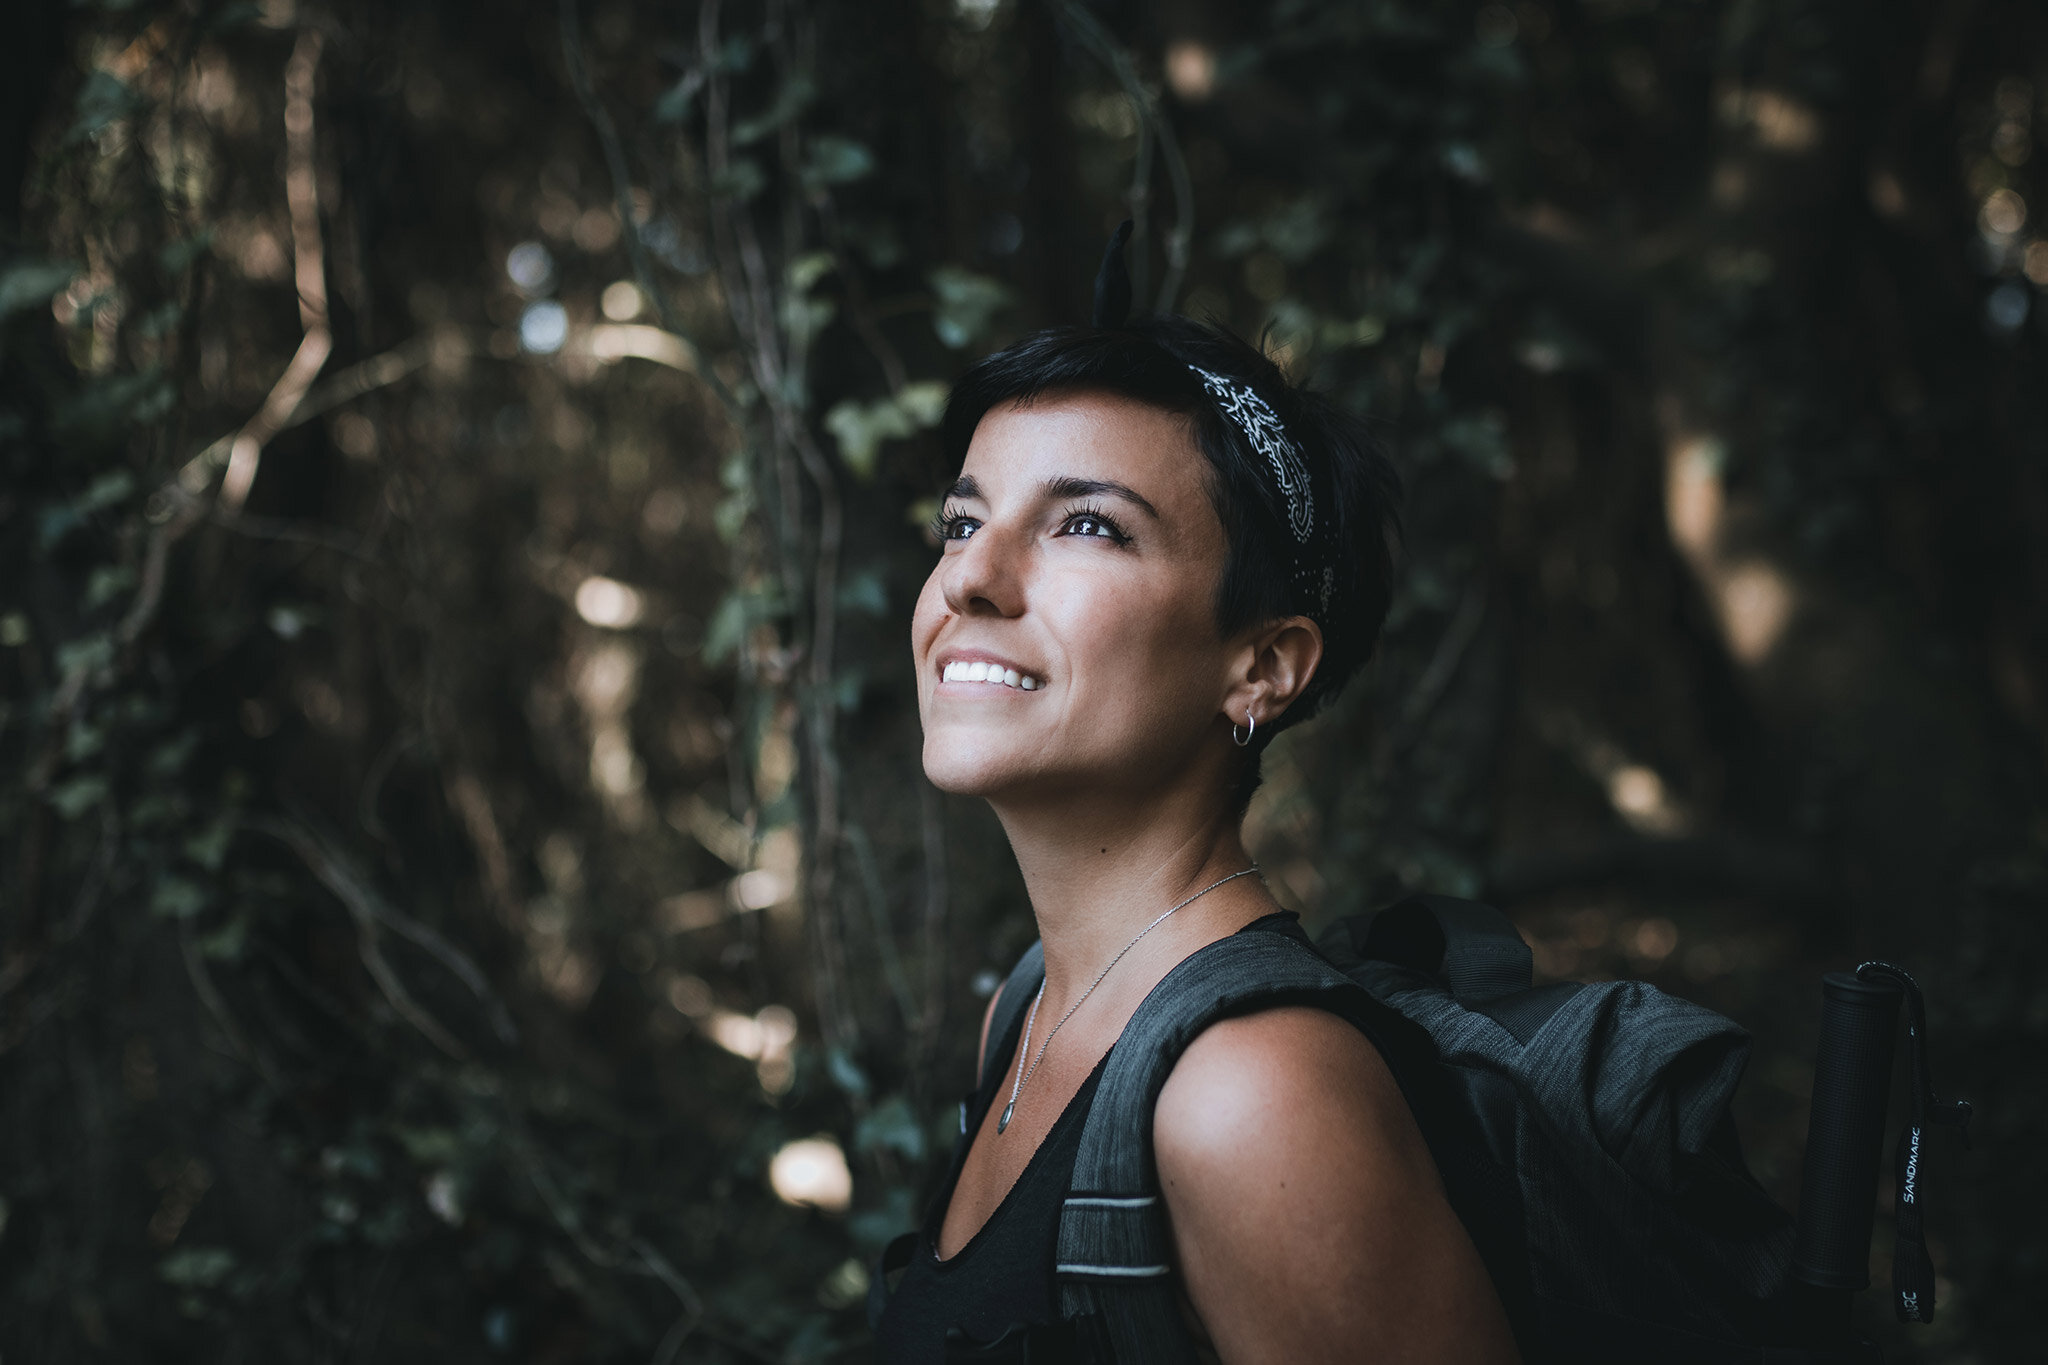
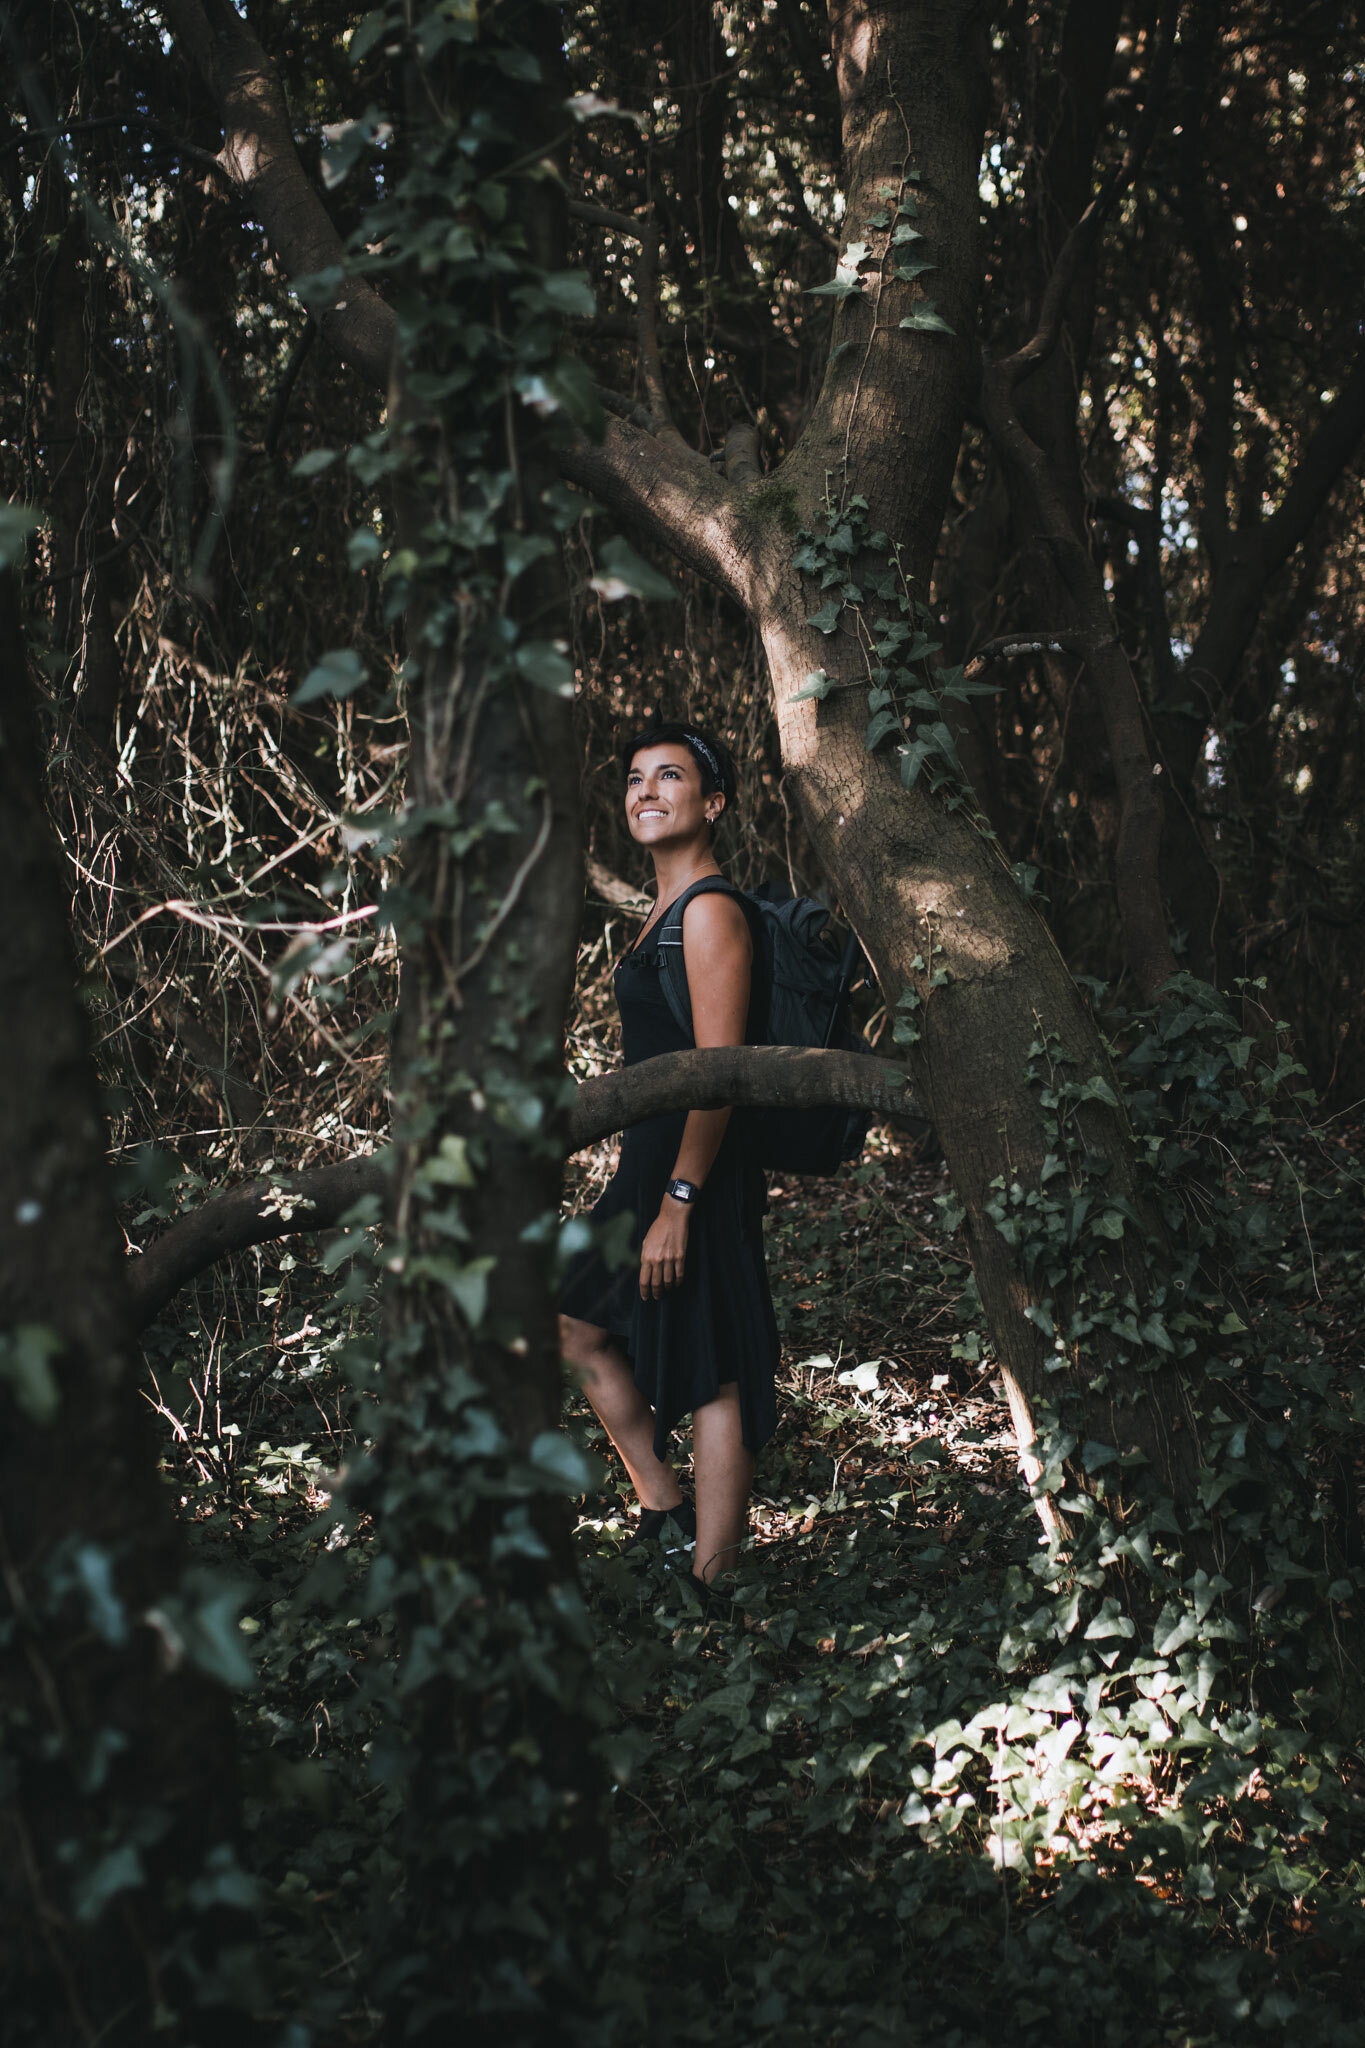
SELF-PORTRAIT WITH PRESET
These are the main tools you need to know in case the preset doesn’t adapt perfectly from the beginning:
TEMPERATURE:
This is going to be entirely up to you. This preset works perfectly with both warm and cold tones. However, if you want those moody greens to look even more moody, make the picture colder setting up the Temperature knob towards the left till you reach your personal desired look.
EXPOSURE:
Well exposed pictures are key! That means, no strong highlights and no loss of information in the shadows! This preset works best with dark shots. Those photographs that have been taken right before sunrise, right after sunset (blue hour), or in an overcast day. As long as there is not strong sunlight, you are good! :)
However, if your picture is a bit bright, all you have to do is lower the exposure and the highlights to make it work.
HIGHLIGHTS:
Try to don’t have them very high from the moment you take the picture. If you do, lower them in Lightroom afterwards sliding the knob towards the left side in the Highlights settings.
CONTRAST:
Naturally, Moody Greens will give you a faded look in your shots. Sometimes, depending on your photo, it may be too much or too little. You just have to play with the Contrast slider or the Blacks slider. These two tools will allow you to make the picture more contrasted and less faded.
for which kind of photography is this preset for?
The main photography category I did this preset for is Travel, Landscape and Wildlife photography. However, I crafted this preset so it adapts perfectly with skin tones. See examples within different categories below.
LIFESTYLE
Moody Greens is perfect for any picture with green foliage! This is a self-portrait I took during one of my travels. As you can see, the skin tones pop in a very natural way. However, if you like them more muted, you just have to go to the HSL panel, select JUST the orange and red colours to target the skins and reduce their saturation.
You can also notice that I’ve used a warmer tone for this one. You can change the look of this preset as you wish with very simple changes!

BEFORE PRESET
WITH MOODY GREENS PRESET
LANDSCAPE
Landscapes look just incredible with this preset! Take a look at this shot I took in Ecuador (South America), and how the photo looks. As I mentioned before, no strong highlights and shooting in overcast days, work best!
In this one, I enhanced the contrast to create more depth in the picture. Moody Greens gives a more faded look naturally but you can also change this easily playing with the Contrast slider or darkening the Blacks as I mentioned before.

WITH MOODY GREENS PRESET
PRODUCT PHOTOGRAPHY
Yes, this preset can be used for product photography as well! However, make sure you shoot in nature. Remember that Moody Greens is made to create those amazing earthy tones.
If you are a landscape photographer, traveller or you are into adventure photography, you will love taking this kind of shots around the green foliage. These are some results you can get with this preset:
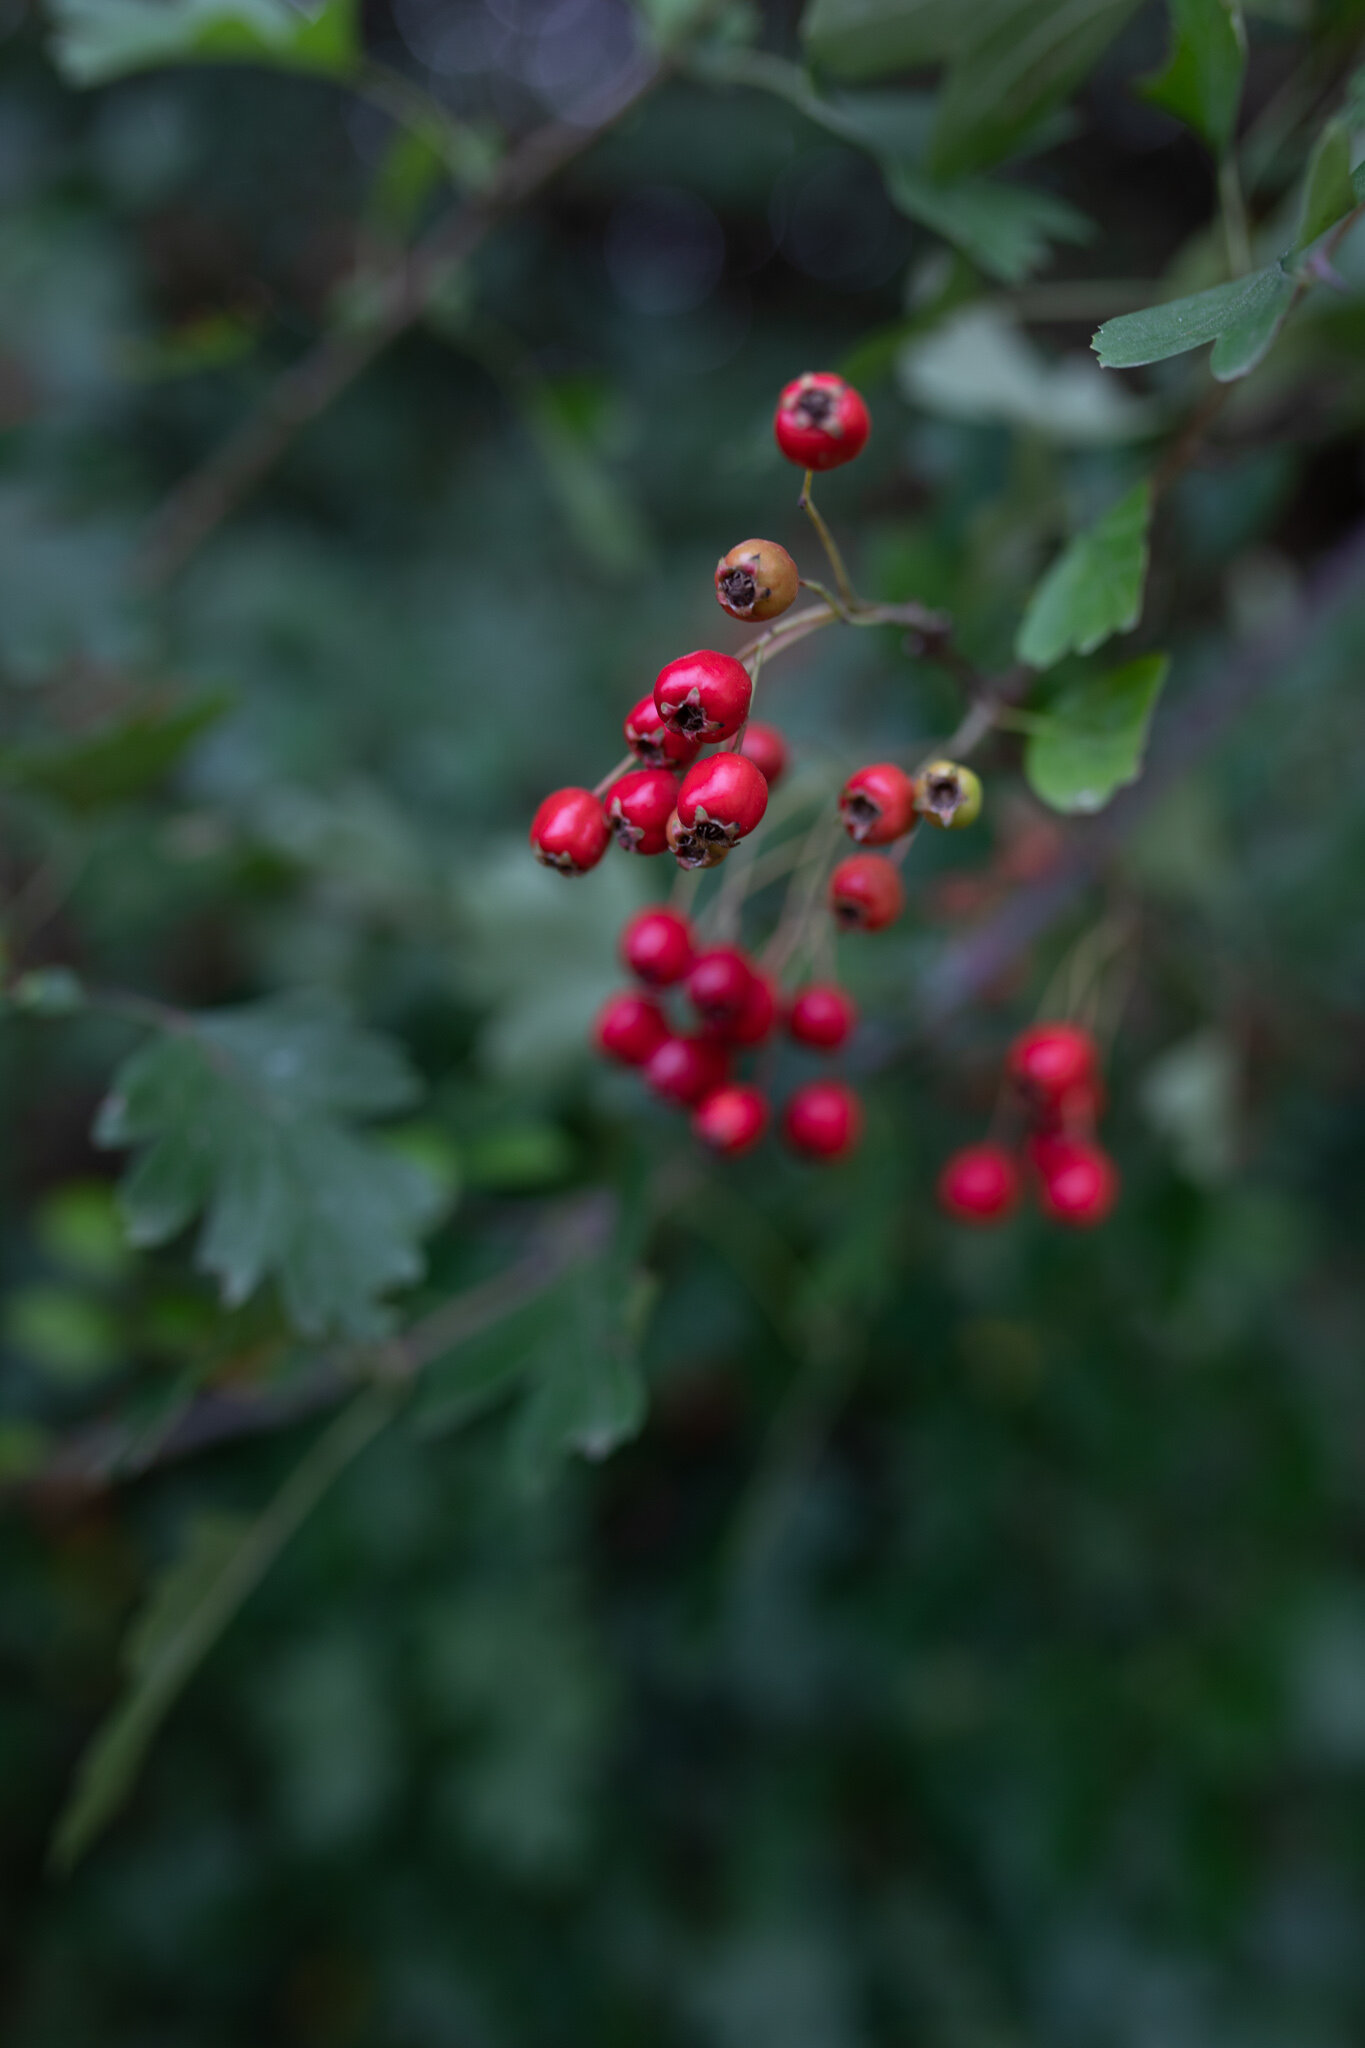
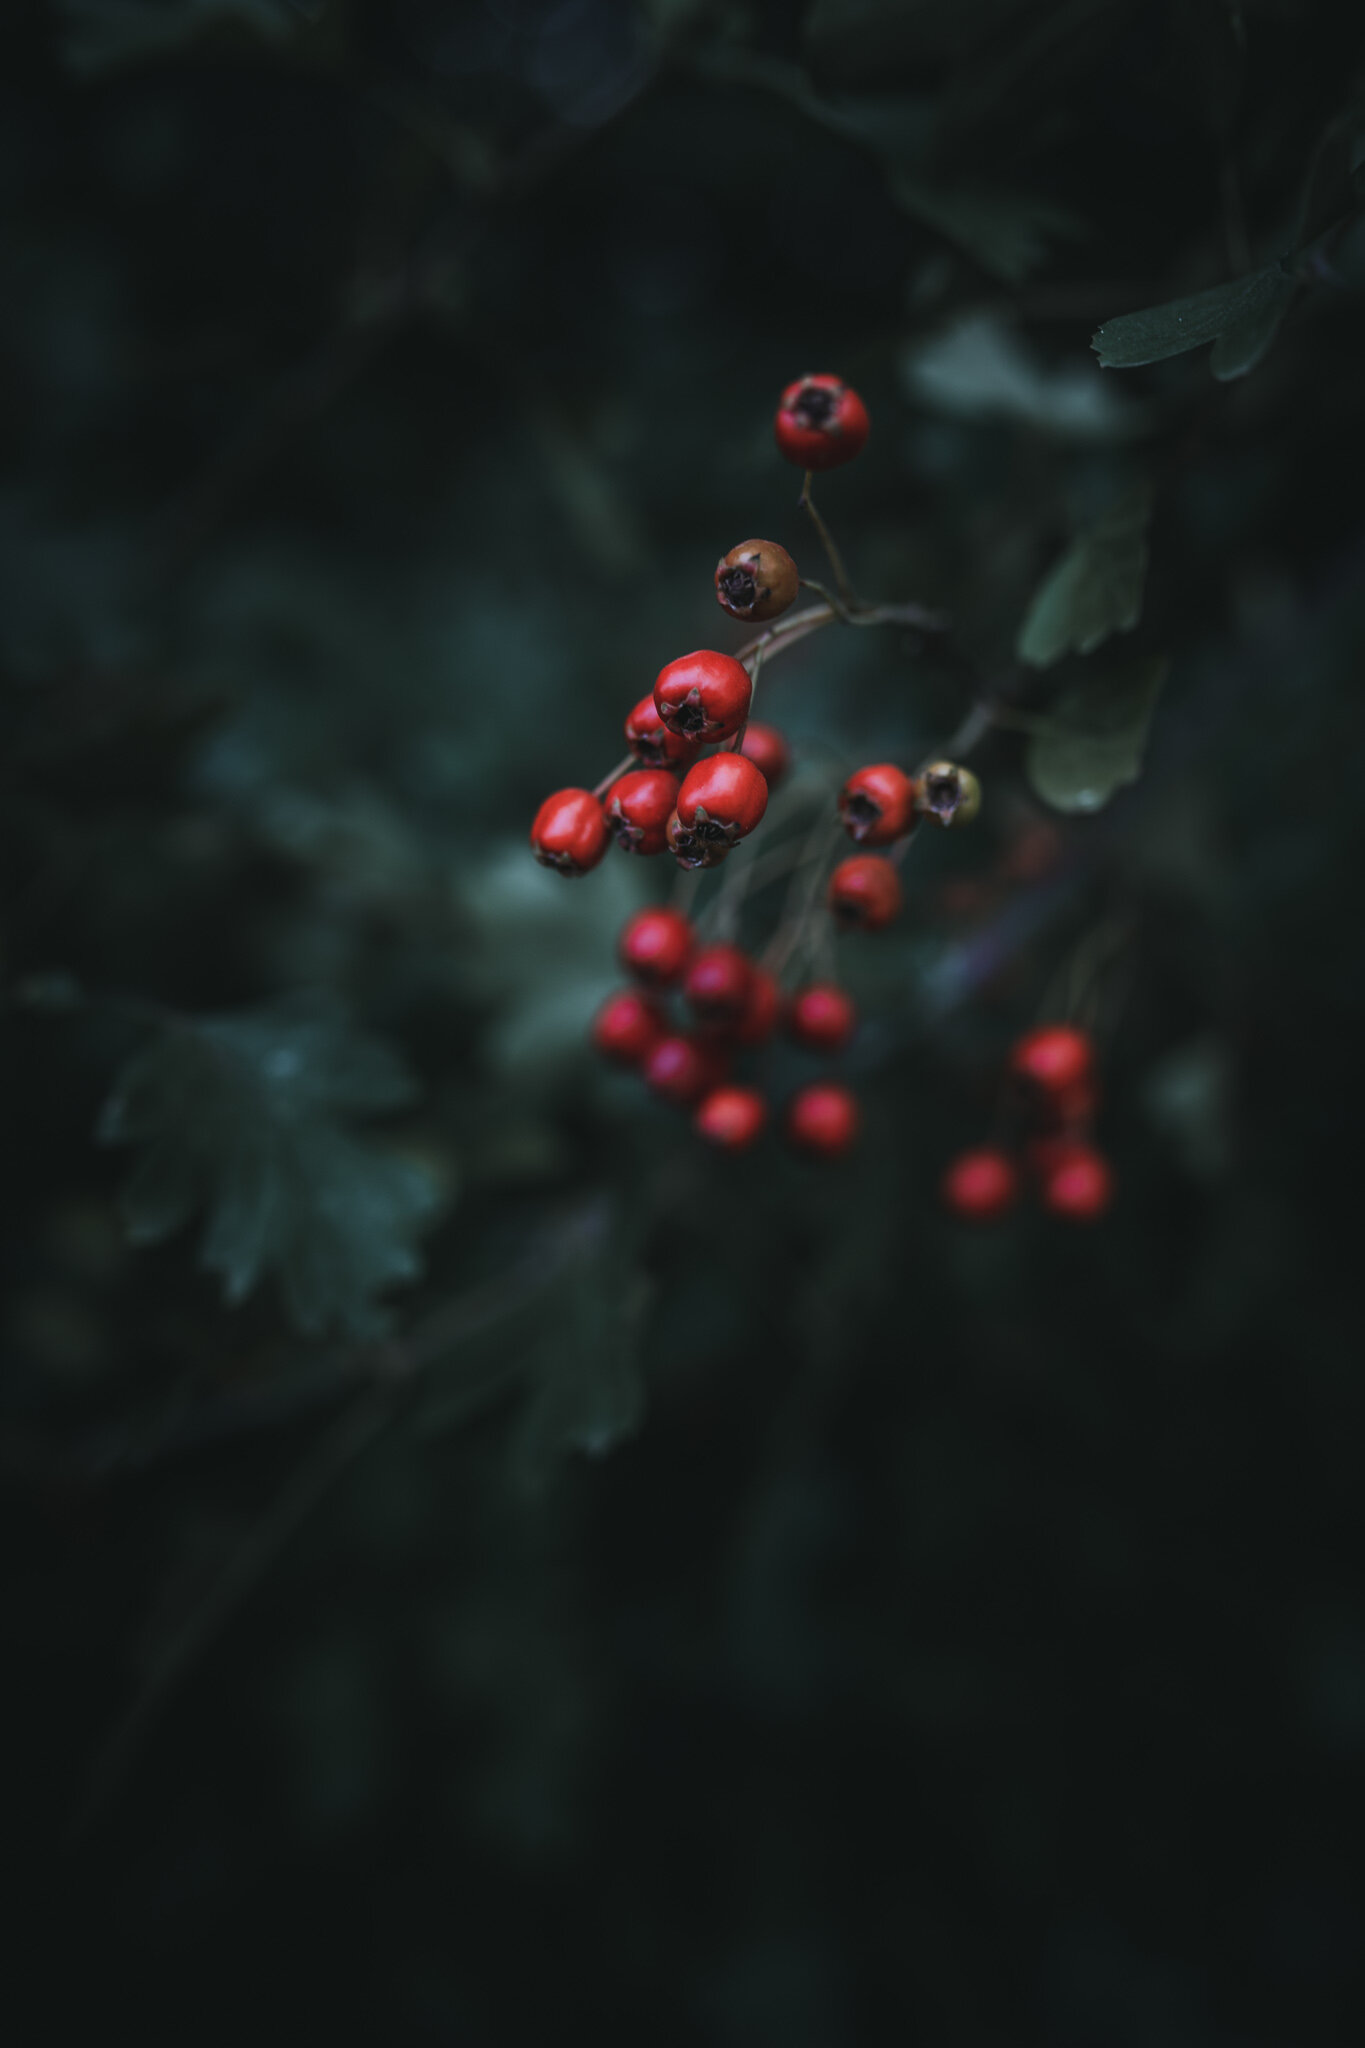
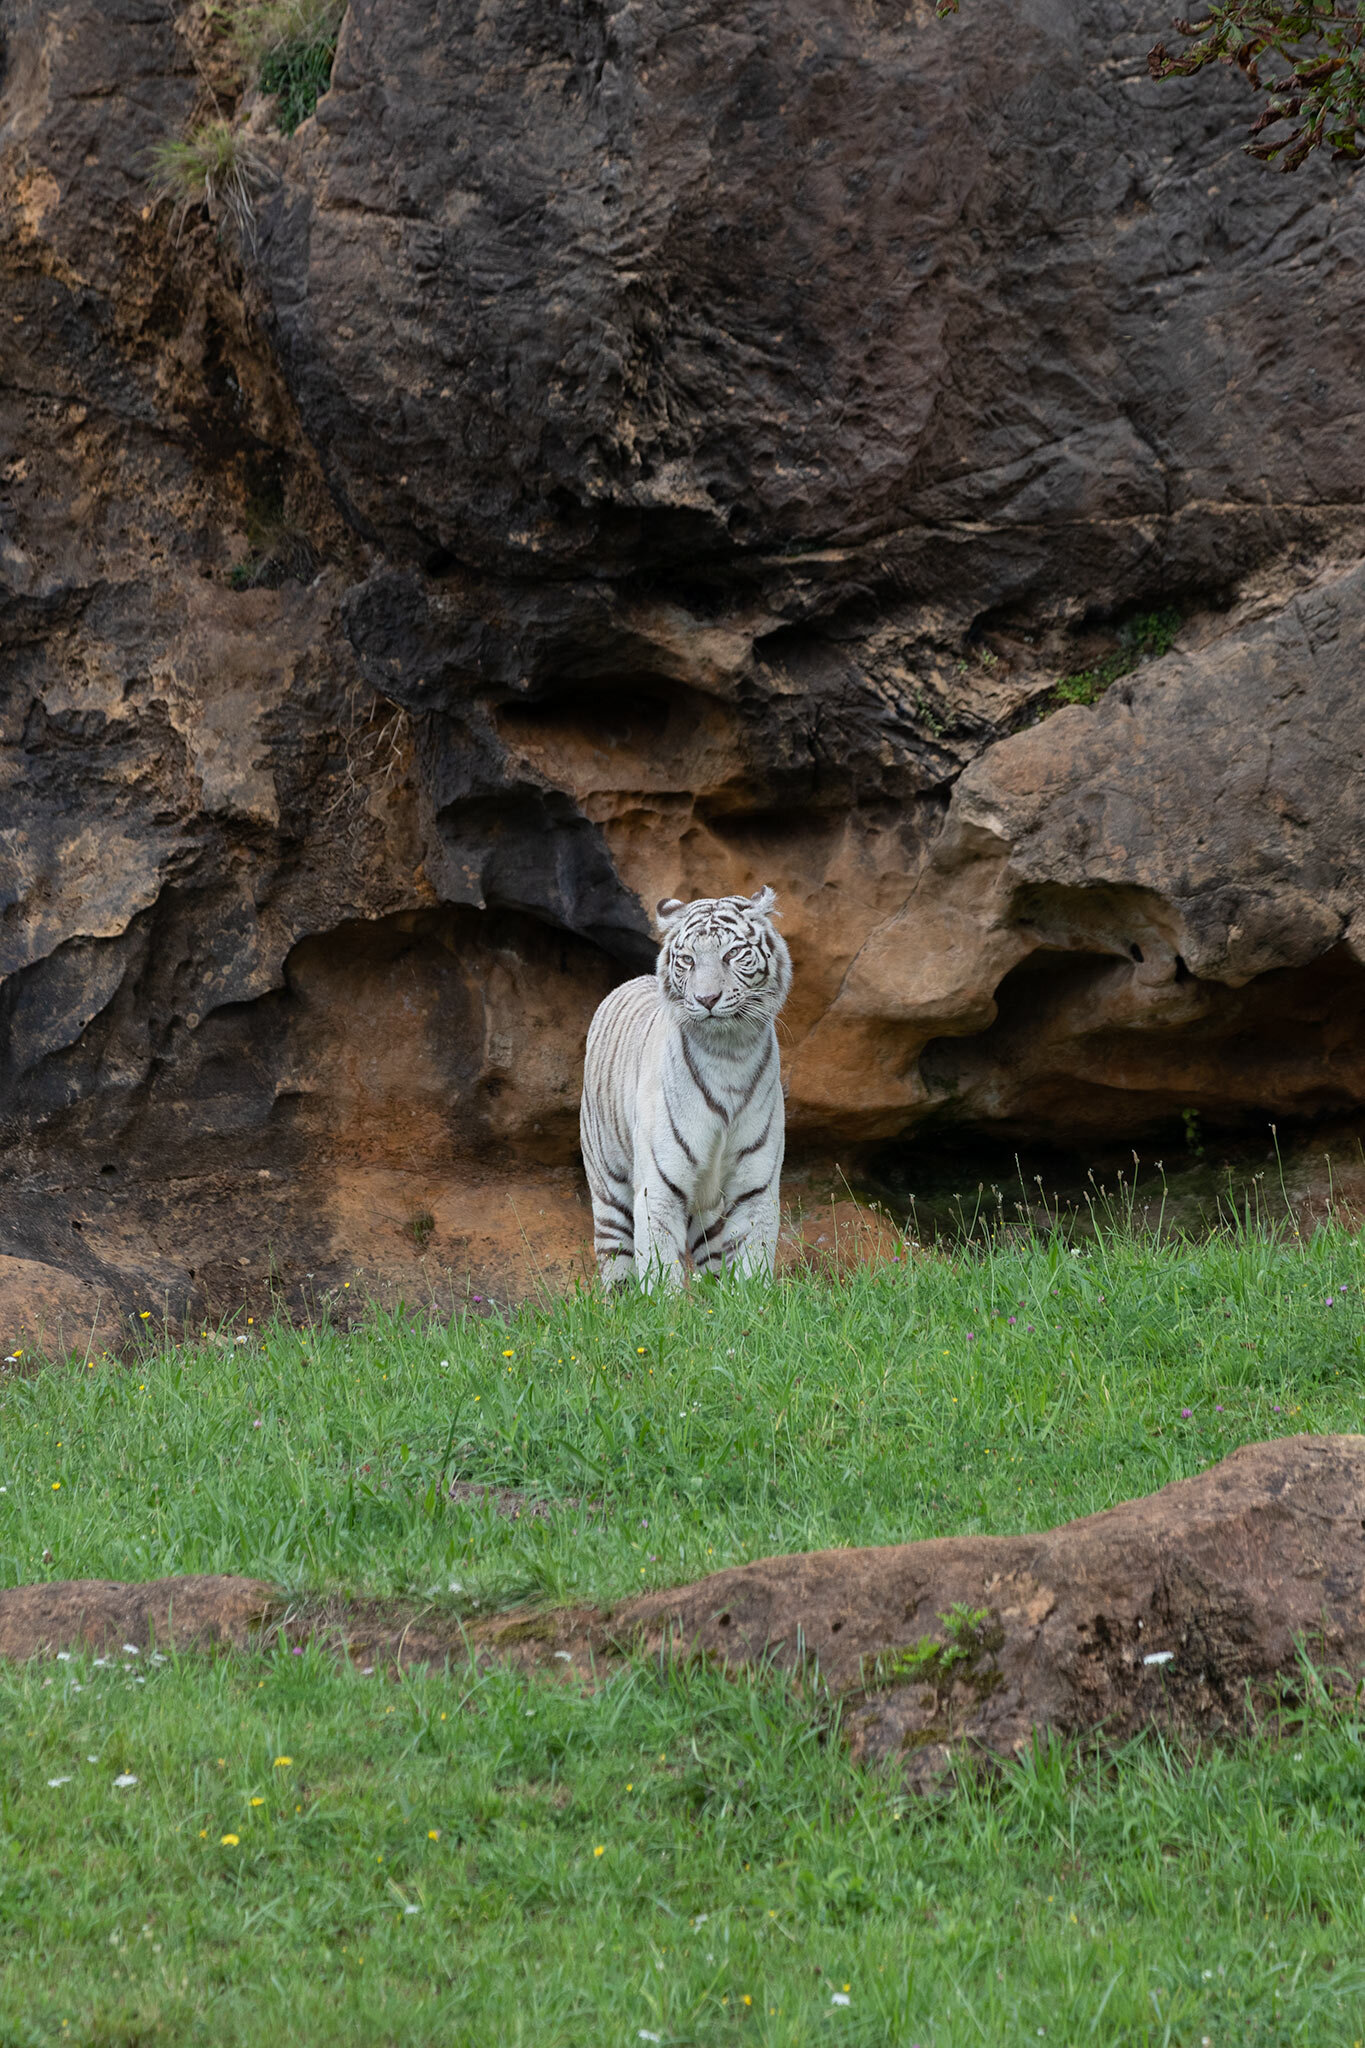
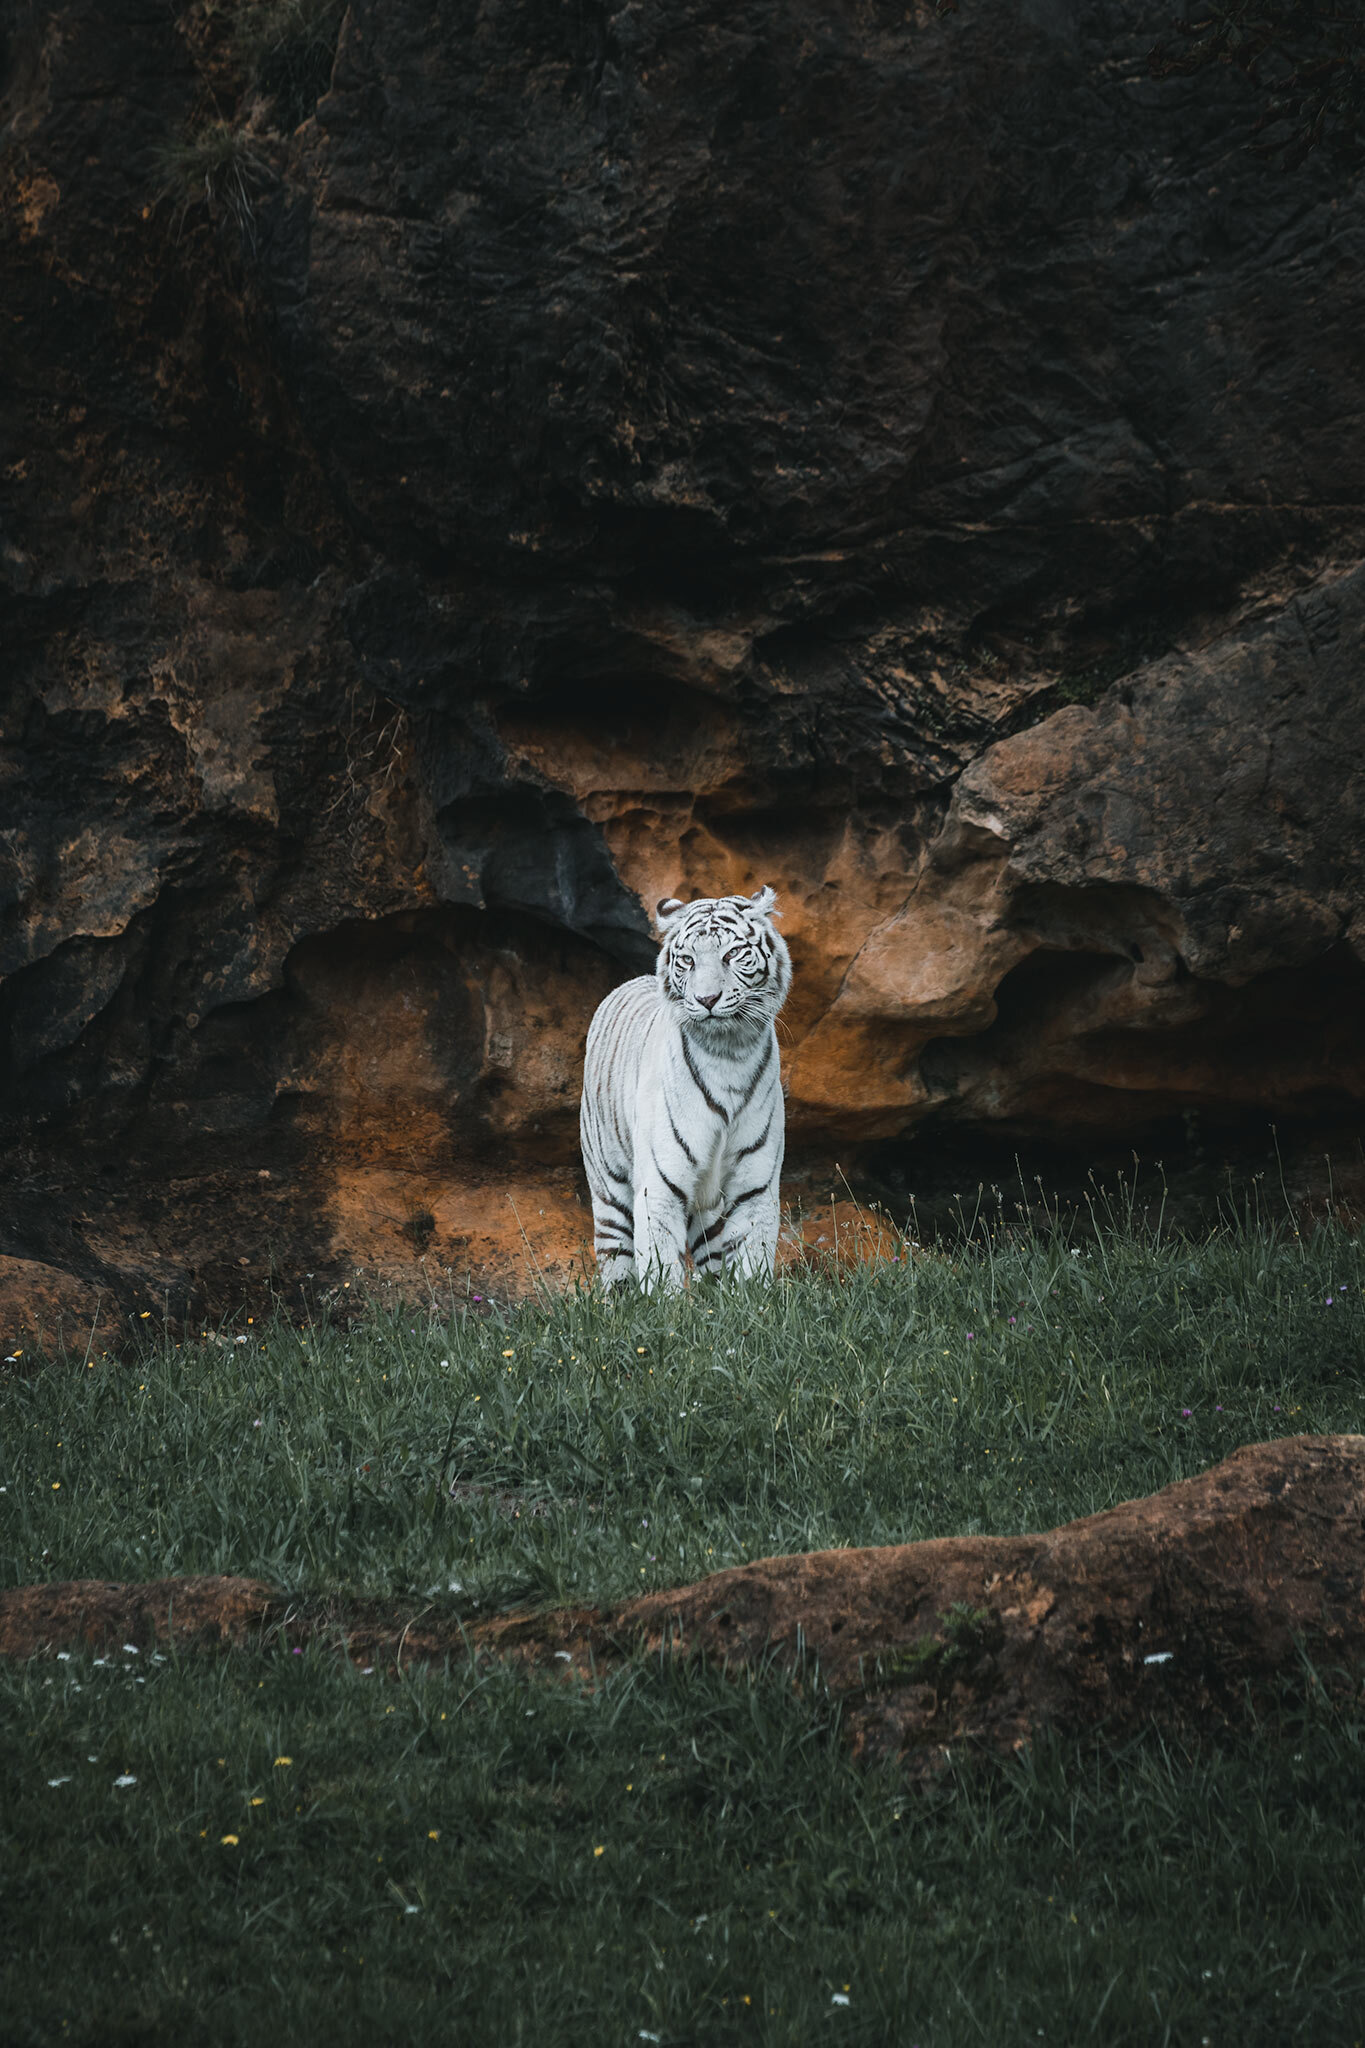
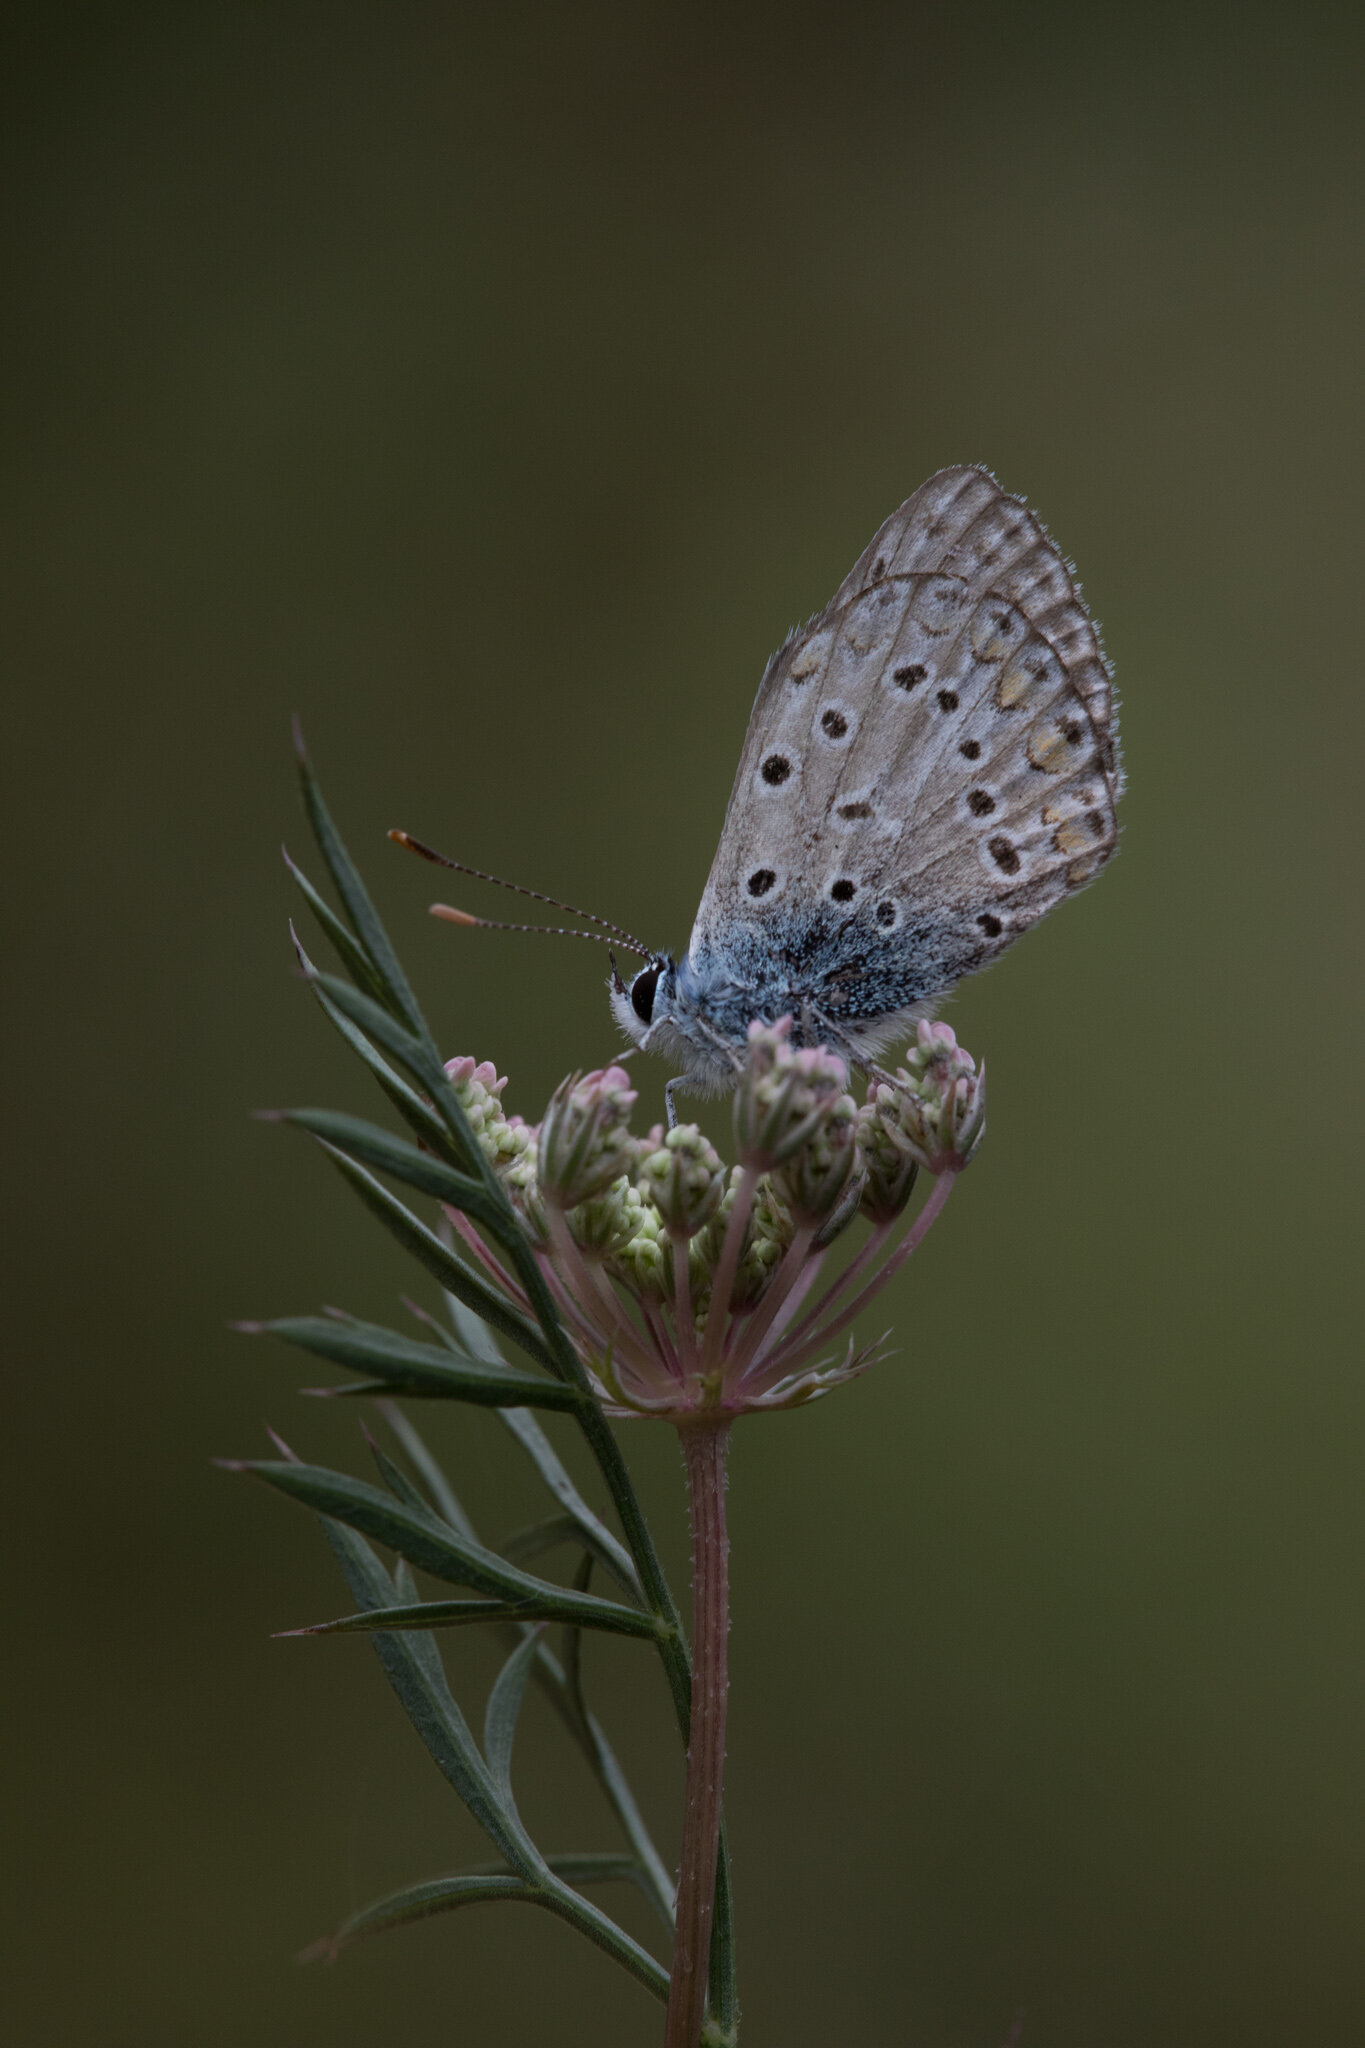
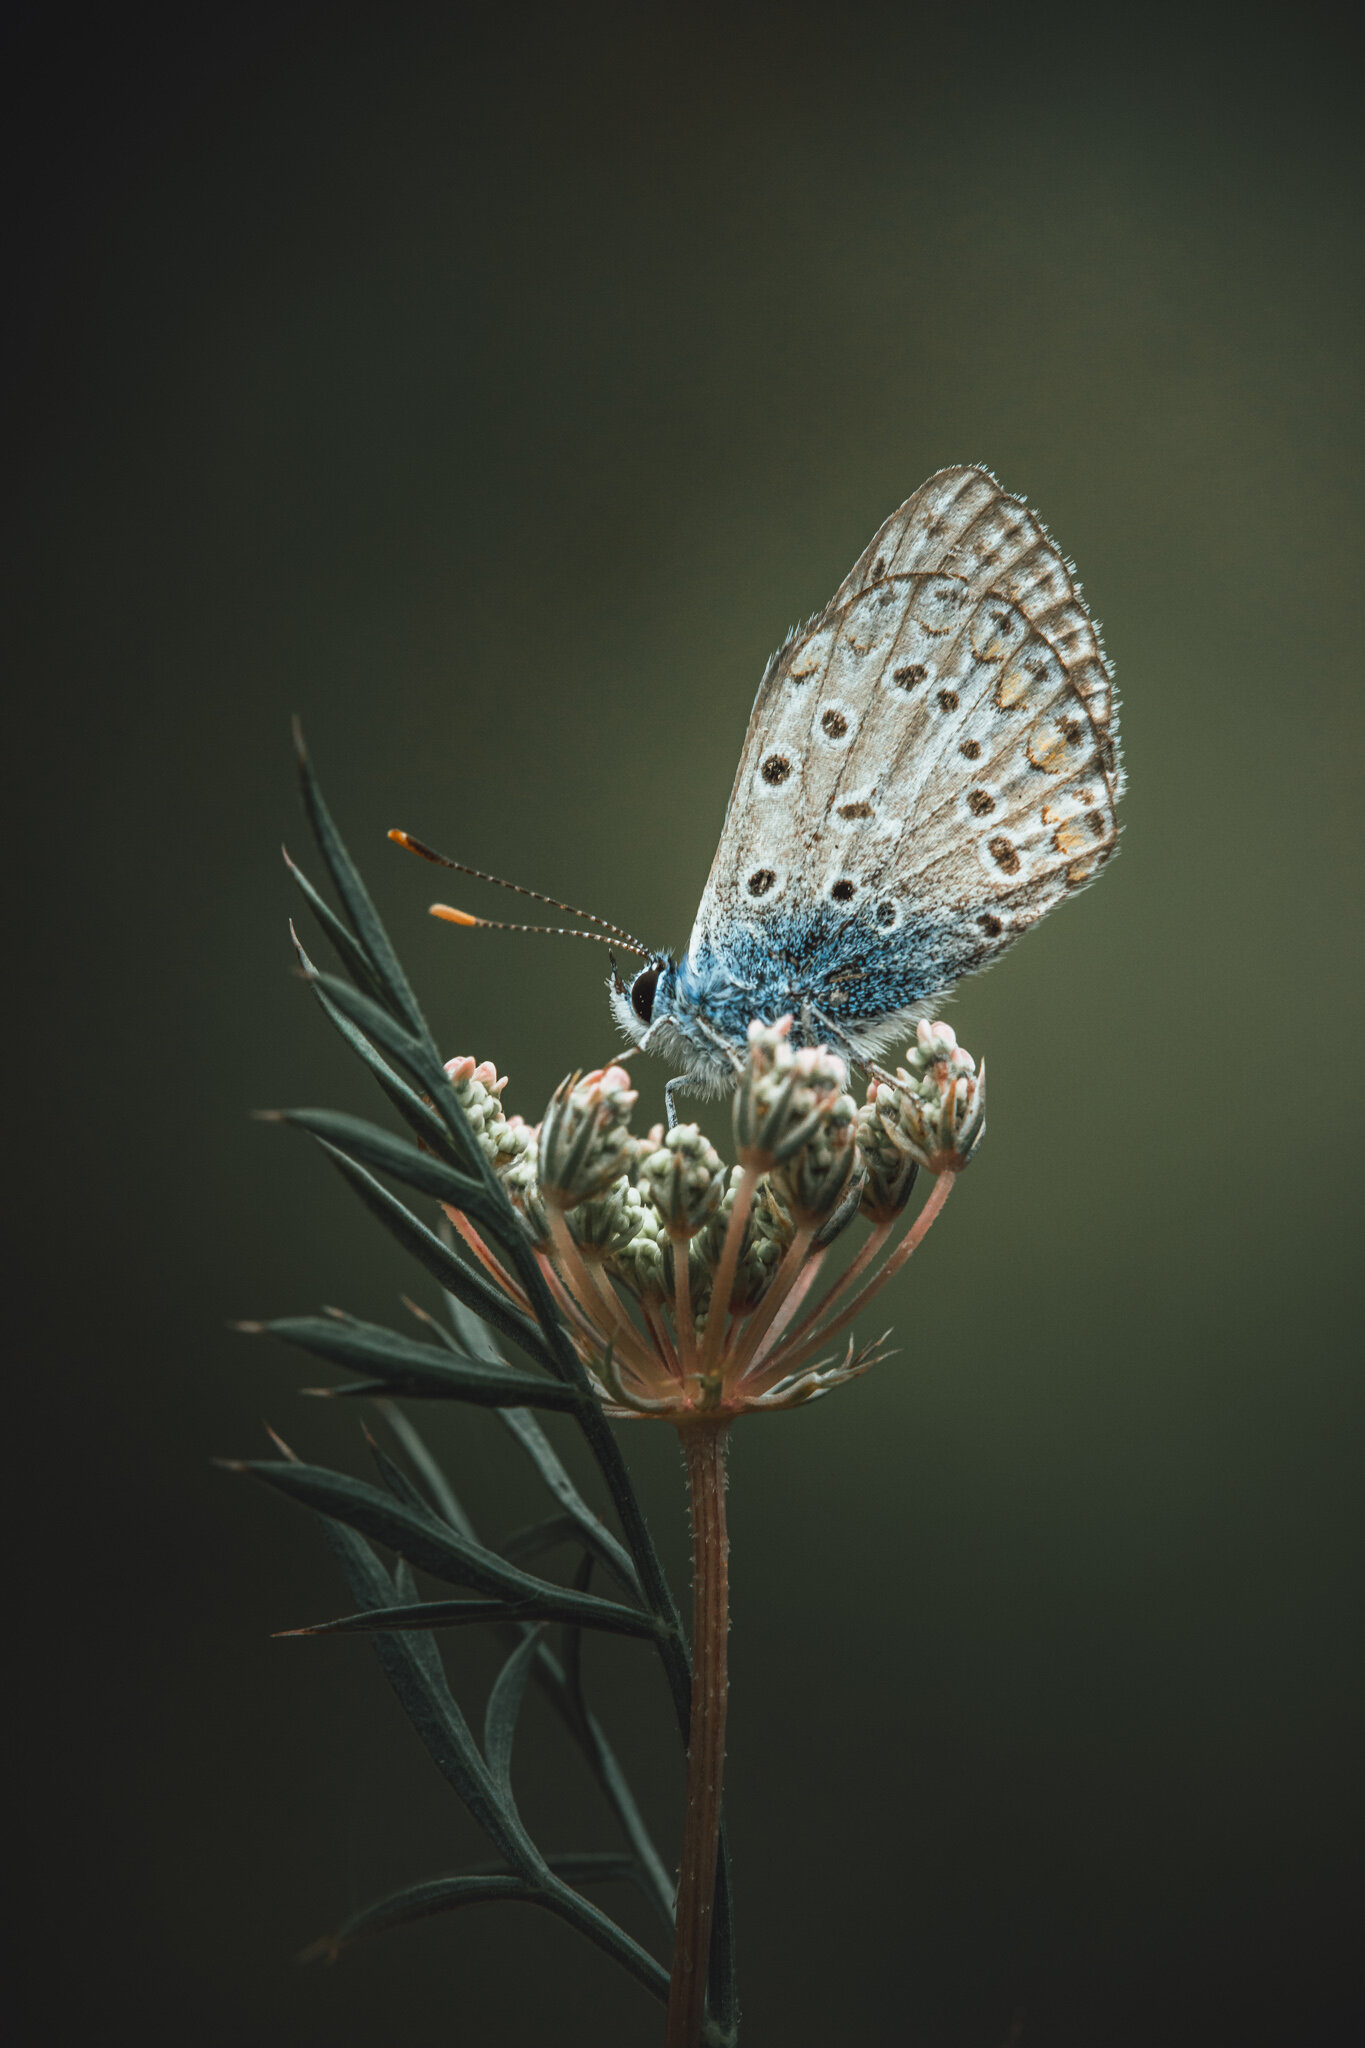
WILDLIFE and MACRO PHOTOGRAPHY
The pictures speak by themselves. As you can see, in general, if you shoot making sure there are earthy tones such as greens, browns and oranges, you will get very optimal results.
For macro photography looks incredible! And I made sure I added an extra tool for you in the downloadable file. A Radial Focus Filter. It’s a local adjustment to brighten up your subject. Completely customisable in Lightroom.
A preset is also such a great way to learn Lightroom. You can easily go through all the settings I’ve applied to help you understand how it works. Play with the settings and see how they affect the picture.
You can also study how I’ve achieved this look, change things around, adapt it to your own style and save it! You will have your own Lightroom Preset! :)
I hope you enjoyed this post explaining a bit further how this preset works. Any questions, please feel free to comment below or just drop me an email! I will be more than happy to help.
You have 2 different versions. One for Lightroom Desktop and another one for Mobile.
As I said at the beginning of this post, if you don’t own Adobe Creative Cloud, you should take the one optimised for Mobile. You would just need to download the free Lightroom app, install it, and you will be able to achieve this look in all your shots! :)
GET THE MOODY GREENS PRESET BELOW!

SOFTWARE I USE TO EDIT ALL MY PICTURES:
• Adobe Photography Bundle: Get the deal here!
• Luminar AI: No subscription AI software. Get it here and use code LAURA at checkout!
- YOU MAY ALSO LIKE THESE POSTS:
If you want to know more, check the Youtube video above and Subscribe to my Youtube channel for weekly videos about Photography, Tutorials and Creative inspiration! I hope to see you there!
PIN THIS ARTICLE ON PINTEREST ↓↓
