Self Portrait Photography Tips in Studio | How to get MOODY Portraits
WATCH THis VIDEO as I give my main tips to get the perfect self-portraits and get that moody light for your portrait work
I had this request a few times through my Instagram. You guys love the lighting I use for my portrait work so I’ve finally made a video explaining how I do it and a few extra tips to learn how to take pictures of yourself.
If you watch the intro, you will also see how important it is to learn filmmaking as a photographer. With the growth of this visual era, and Tik-Tok and Instagram Reels being the kings of it, you will need to catch up to be able to grow in the creative industry.
Every company you may want to work for as a photographer, and any client if you are a freelancer like me, will request video services from you nowadays. And on top of it, if you work in your self-promotion, Instagram Reels and Tik Tok content is a must for engagement and reach!
I get all my music from Audiio, a music licensing platform that works with clients such as Netflix, Adidas and Toyota. I’ve tried many others but the music here is next level. I’ve always struggled to find non-cheesy music! :D
As I teamed up with them, you can get a 10% discount by adding the coupon code: LAURABC10 through this link.
Right, so that being said, find below the main tips I talk about in the video:
POSING
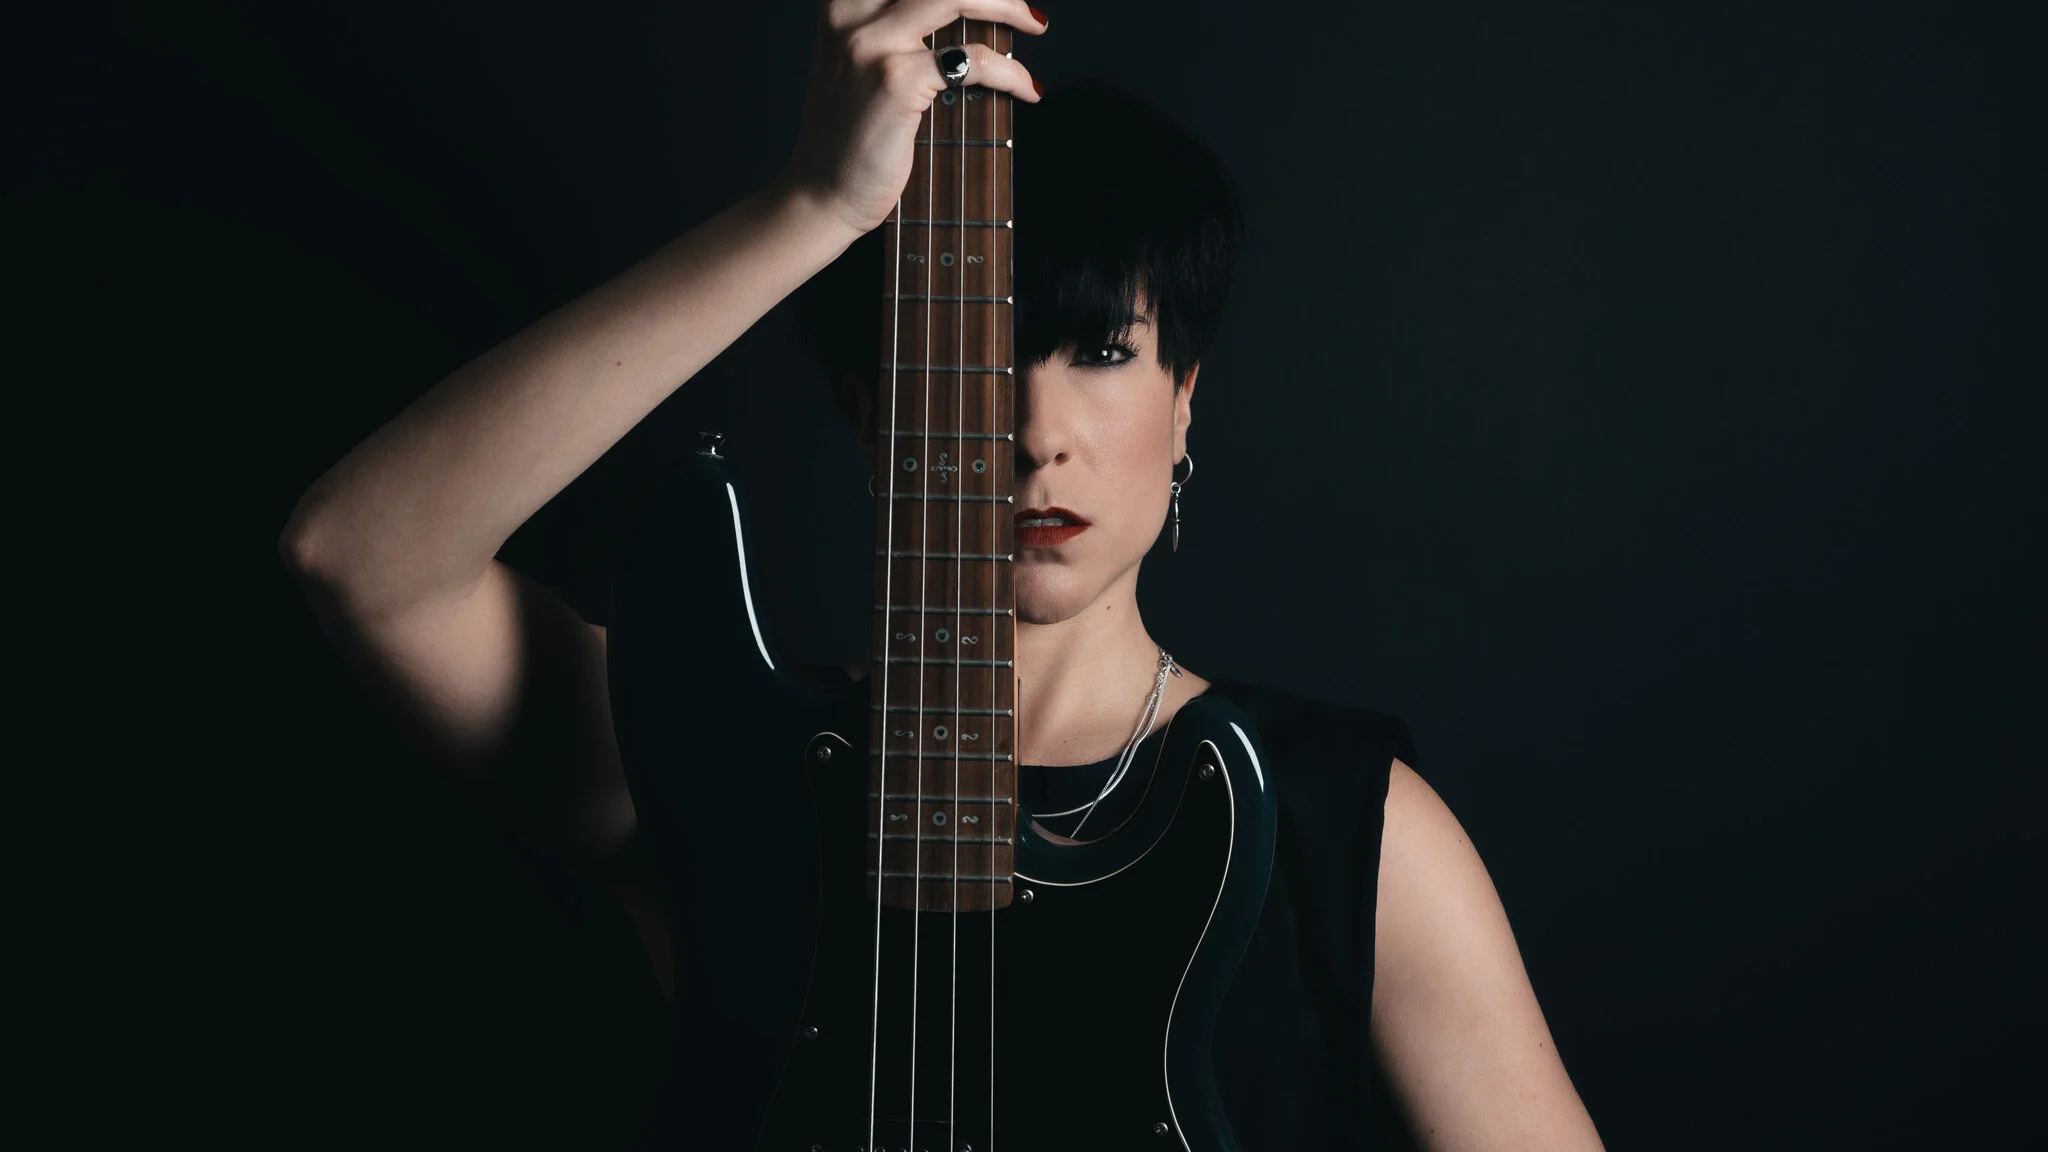
This is probably one of the hardest things to do. Something that ALWAYS helps is to move, move and move! Put some music on, dance, move around, play with props (my bass guitar in this case), play with your jacket, hoody, whatever…
When you move, you look more natural! It’s hard to be static and get a good shot unless you are more experienced. I’ve been doing this for years and I still look crap in hundreds! :D
The flash will freeze your movement, so please don’t be scared of going a bit too crazy!

You can also do very still poses. Think about different moods and how you look at your best. For this photoshoot, I wanted to look serious, I wanted to look intimidating with my bass guitar, so I decided to don’t smile.
However, if your idea for your pictures is completely different and you want another vibe, just match it with your face. Think about emotions. Sad, happy, energetic, serious… A photo is about transmitting something to the viewer. Don’t forget that.
LIGHTING
You don’t need to go crazy and get many studio strobes to achieve great results. Actually, using just one light will be more than enough to get the moodiness I’ve got on these self-portraits. One key light is perfect when you know how to use it.
It’s great to have limitations at the beginning of your journey in studio photography. Believe me, it will be the best way to learn. I’ve been there myself. I’ve used to complain constantly about not having enough gear, and I became super creative with those limitations. Now, I do have a lot of lighting but when I got it, I was well ready and full of knowledge. Sometimes we buy a lot of stuff in the first place, we get overwhelmed, and we don’t learn as much.

The flash I use is a VERY AFFORDABLE one. My expensive studio gear is in Spain, so instead of having it delivered to me, I’ve just bought this one. It was more worth it than paying the postage.
I use it for professional client work and I love it! Best price for its value!
You can check it out here.
To get those low-key portraits, you will need to set your flash settings quite low. This way, you won’t illuminate unwanted areas of the portrait or the background itself.
Place yourself or your model close to the key light, this will enhance the part of the face you want to show in your picture.
The angle where you locate the light is key. I normally use a 45 degrees angle. This will dramatize the portrait creating beautiful shadows in half of the face. If you want it even more dramatic, put it right next to the model so half of the face is completely in the dark.
LIGHT DIFFUSION
This is as important as the flash. If you don’t get a light diffuser, the skin will look terrible with the strong light.
When you put a light diffuser, the light of the flash gets way softer through the diffusion layers. It will smooth the imperfections of the skin.
A very good one and super easy to assemble and disassemble is this one.
I personally LOVE the octabox shape. It’s rounded enough to create a beautiful catch light in the eyes. (Those white flattering reflections in the pupils/iris)
As usual, you may take more value from the video. But everything above summarizes it.
When I started studio photography, strobe lights were crazy expensive! Now, you really don’t have an excuse to don’t get one! You will get a lot of professional work done with it. I use it for all my portrait photography work, product photography and even to record my videos with the modelling lamp. Not ideal, I know… but my continuous light is also in Spain! :D
I really hope you enjoyed this post and found it useful! Comment below if you have any questions, and I will reply happily!
SOFTWARE I USE TO EDIT ALL MY PICTURES:
• Adobe Photography Bundle: Get the deal here!
• Luminar AI: No subscription AI software. Get the discount here and use code LAURA at checkout!
- YOU MAY ALSO LIKE THESE POSTS:
If you want to know more, check the Youtube video above and Subscribe to my Youtube channel for weekly videos about Photography, Tutorials and Creative inspiration! I hope to see you there!
CHECK OUT MY TRAVEL AND EDITORIAL COLLECTION LIGHTROOM PRESETS TO EDIT IN JUST ONE CLICK!


PIN THIS ARTICLE ON PINTEREST ↓↓
