HOW TO GET INTO PHOTOGRAPHY – ALL YOU NEED!
WATCH THE VIDEO ABOVE TO have a clear understanding about how to get into photography and all you need to get started. If you prefer to read, just follow this article.
Hi guys! In this video, I explain my very HONEST opinion about what you have to get as a beginner photographer.
You will have a full understanding of how to get into photography in the right way in terms of equipment without wasting your money!
I will summarise below, but if you want to get into more details, I recommend that you watch the video above.
You can also take a look at my own equipment clicking here.
• Subscribe to my Youtube Channel for weekly videos about photography and creativity!
1. CHOOSING THE RIGHT CAMERA
When I started in photography over ten years ago, I made the mistake of buying a compact camera. I thought that as I was just a beginner and photography was just a hobby, I would buy a compact camera instead of investing properly. I spent less at that time but way more in the long term…
I used that compact camera for literally a couple of weeks… only! When I borrowed my dad’s DSLR and I tried it out, I didn’t want to come back to mine!
The chances are that even if you are just starting, you will end up completely hooked, and very likely, wanting more and more quality and versatility.
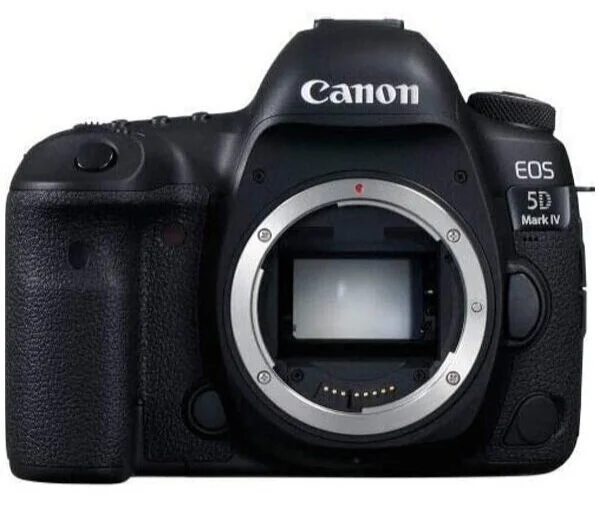
I highly recommend you to get a DSLR or a MIRRORLESS! Even if it’s just a basic one. You will be able to add more lenses in the future and the quality is going to be incredible with any camera you buy. Nowadays, they are all such a little beast! :D
A compact camera will limit you much more, and if you get hooked as I mentioned before, you will end up pushing it away to upgrade. This just means that you will end up making the same mistake as I did: Wasting money!
• This is my current camera, (very expensive, I know, but it took me many years to build the professional equipment I have now. I started with a very average one till I finally became a full-time freelancer doing what I love!)
2. CHOOSING A LENS
The main thing you have to ask yourself is what are you going to shoot. When it comes to choosing just one lens to start with, you really MUST consider which kind of photography you are going to aim for.
If you are into sports photography, wildlife or street photography, get a telephoto lens. This was my first choice as I started with surf photography taking actions shots.
• This is my telephoto lens. Incredible quality for the price! Even better than the Canon 100-400mm f4.5-5.6 L which is more than double the price! Believe me, I compared them both and mine gives more sharpness even if being a lower range.

If you are sure that your niche is going to mainly portrait photography, I would go for prime lenses (fixed focal range). These give you the best of the best quality!
I swear by Sigma lenses guys! As a beginner, I was so scared of getting lenses that weren’t Canon. And what a stupid thought! As soon as I put my hands on the Sigma Art series… I didn’t want anything else! The sharpness they give is absolutely incredible and the bokeh (blurriness around the subject and background), when shooting at a shallow depth of field is just beautiful!
• My other favourite lens for portrait and fashion photography
If you want a versatile lens to experiment within different photography categories till you find a specific niche, go for a versatile focal range.
I owned a 15-85mm and I’ve used it for many years for professional portraiture, fashion and landscape photography work. I’ve recently sold it to get the Canon 24-105mm f4 L which I use every time I don’t want to carry many lenses with me.
A versatile lens may be the one to go for you if you want to experiment with different photography categories. Get a focal length that allows you to go from a wide angle to at least 85mm or even more.
3. GET AN EXTRA BATTERY
Don’t conform yourself with just one, even if it’s durable. They fail and you will want to have one as a backup in your camera bag ready to go!
Make sure you buy the right one for your camera and the original one! I’ve tried once to save money getting a fake one and I had to return it… Not durable and to be honest, not good for our expensive camera!
4. GET AN EXTRA SD or CF CARD
I know that SD cards are quite pricey but try to buy two from the beginning. They can also fail! But on top of that, nowadays cameras have an incredible resolution which equals very heavy files. You don’t want to run out of memory while shooting.
• My super-fast SD cards
• If you are into video, a CF it’s quicker when recording 4K, this one is the one I use
5. CAMERA BAG
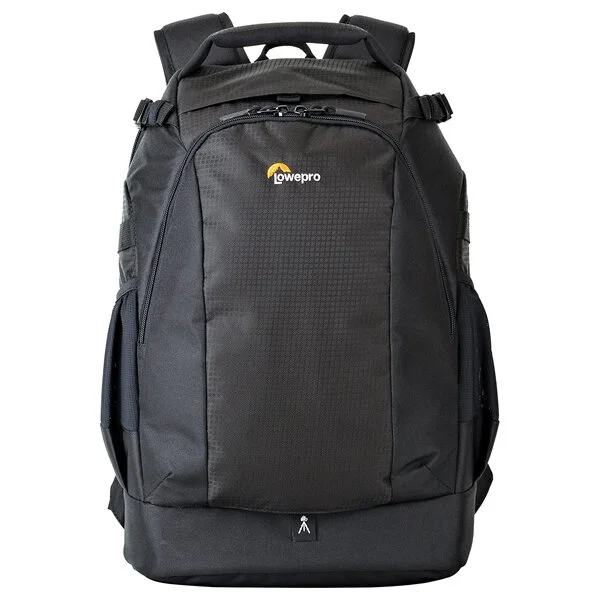
A lot of options out there so you will have to do your own research according to what you need. But even if you get a small one because your photography equipment is little, buy one that fits at least two extra lenses. Otherwise, you will have to upgrade it quite quickly and you will overspend. This is something so many beginners go through thinking that they won’t get more lenses that quick… The chances are, you will get hooked pretty easy and grow your gear the same year you started. I’ve been there! :D
• This is my favourite camera bag. I have a few I’ve been using during the 13 years I have been shooting. The size of this one is just perfect for my current equipment. Take a look and see if it suits you. It also fits an iPad and a 15 inches laptop! :)
6. OTHER ACCESSORIES
A very cheap item that can save you a lot of money: An UV filter.
They are very inexpensive and they protect your lens against scratches and even further damage.
• This is the one I use
You have to consider also a tripod. You may not want it at first but it’s immensely useful! Beginners tend to have more camera shakes, this will solve the problem. The ones below are the ones I have. Very affordable and I managed quite well with them during these years.
• Affordable tripod
• Small travel tripod
And I think that’s it for today’s post! I could talk about gear forever so please if you have any questions just drop a comment below. I would love to help. This is just my very honest opinion and it’s based on my own experience. I did my mistakes as a beginner and I don’t want you to do the same!
SOFTWARE I USE TO EDIT ALL MY PICTURES:
• Adobe Photography Bundle: Get the deal here!
• Luminar AI: No subscription AI software. Get the discount here and use code LAURA at checkout!
- CHECK OUT THESE OTHER ARTICLES:
How to Make Money with Photography in 2021 even if you are just a beginner!
How to Get Started with Stock Photography - Full Guide to Make Money with your Photos!
If you want to know more, check the Youtube video above and Subscribe to my Youtube channel for weekly videos about Photography, Tutorials and Creative inspiration! I hope to see you there!
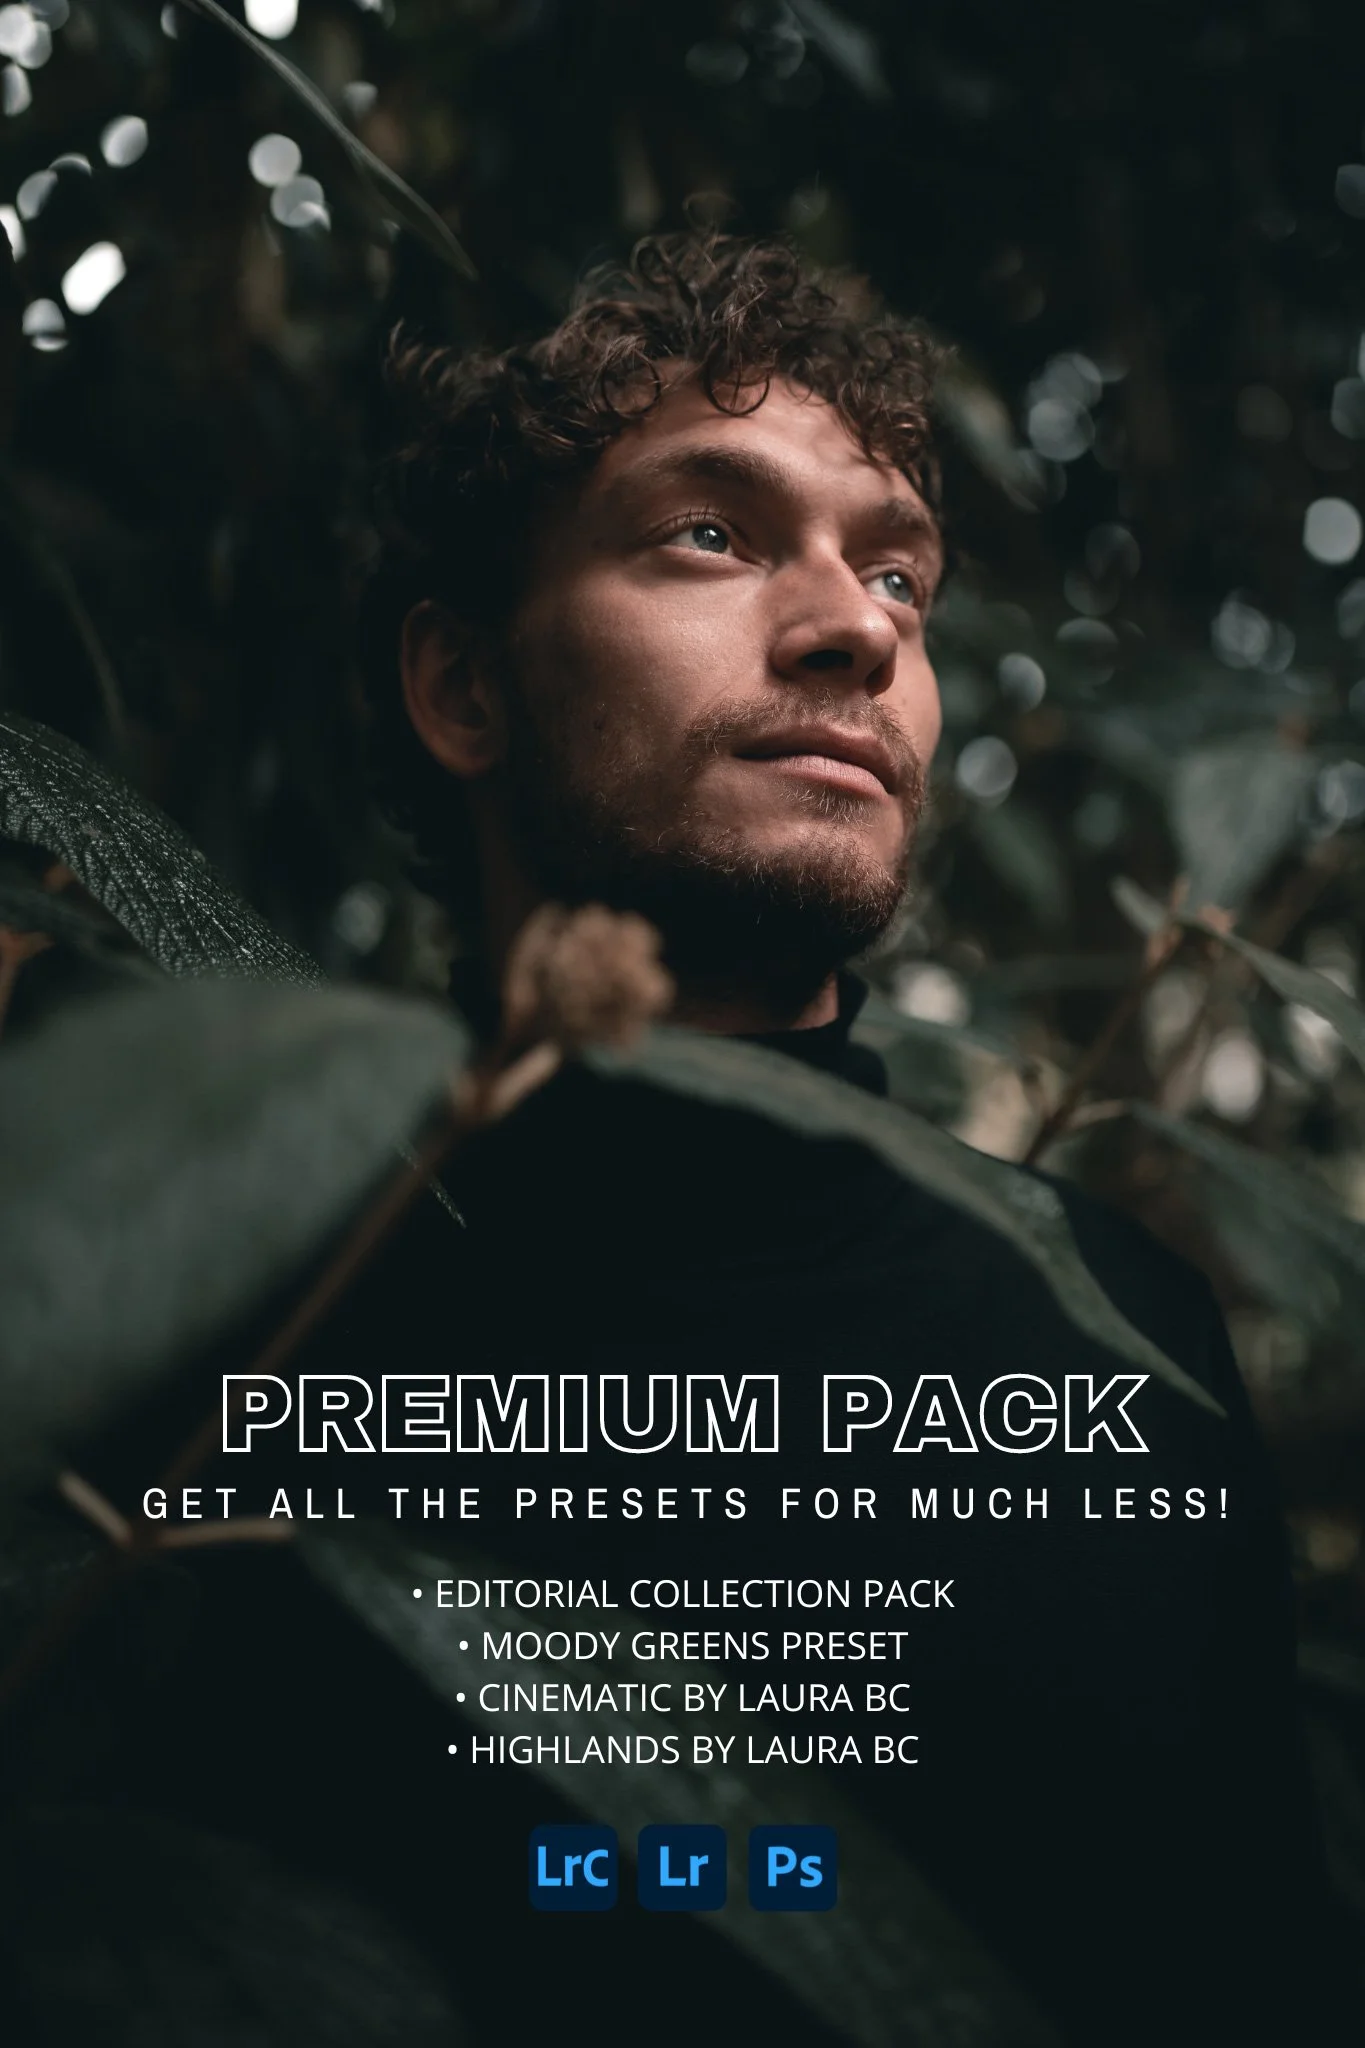
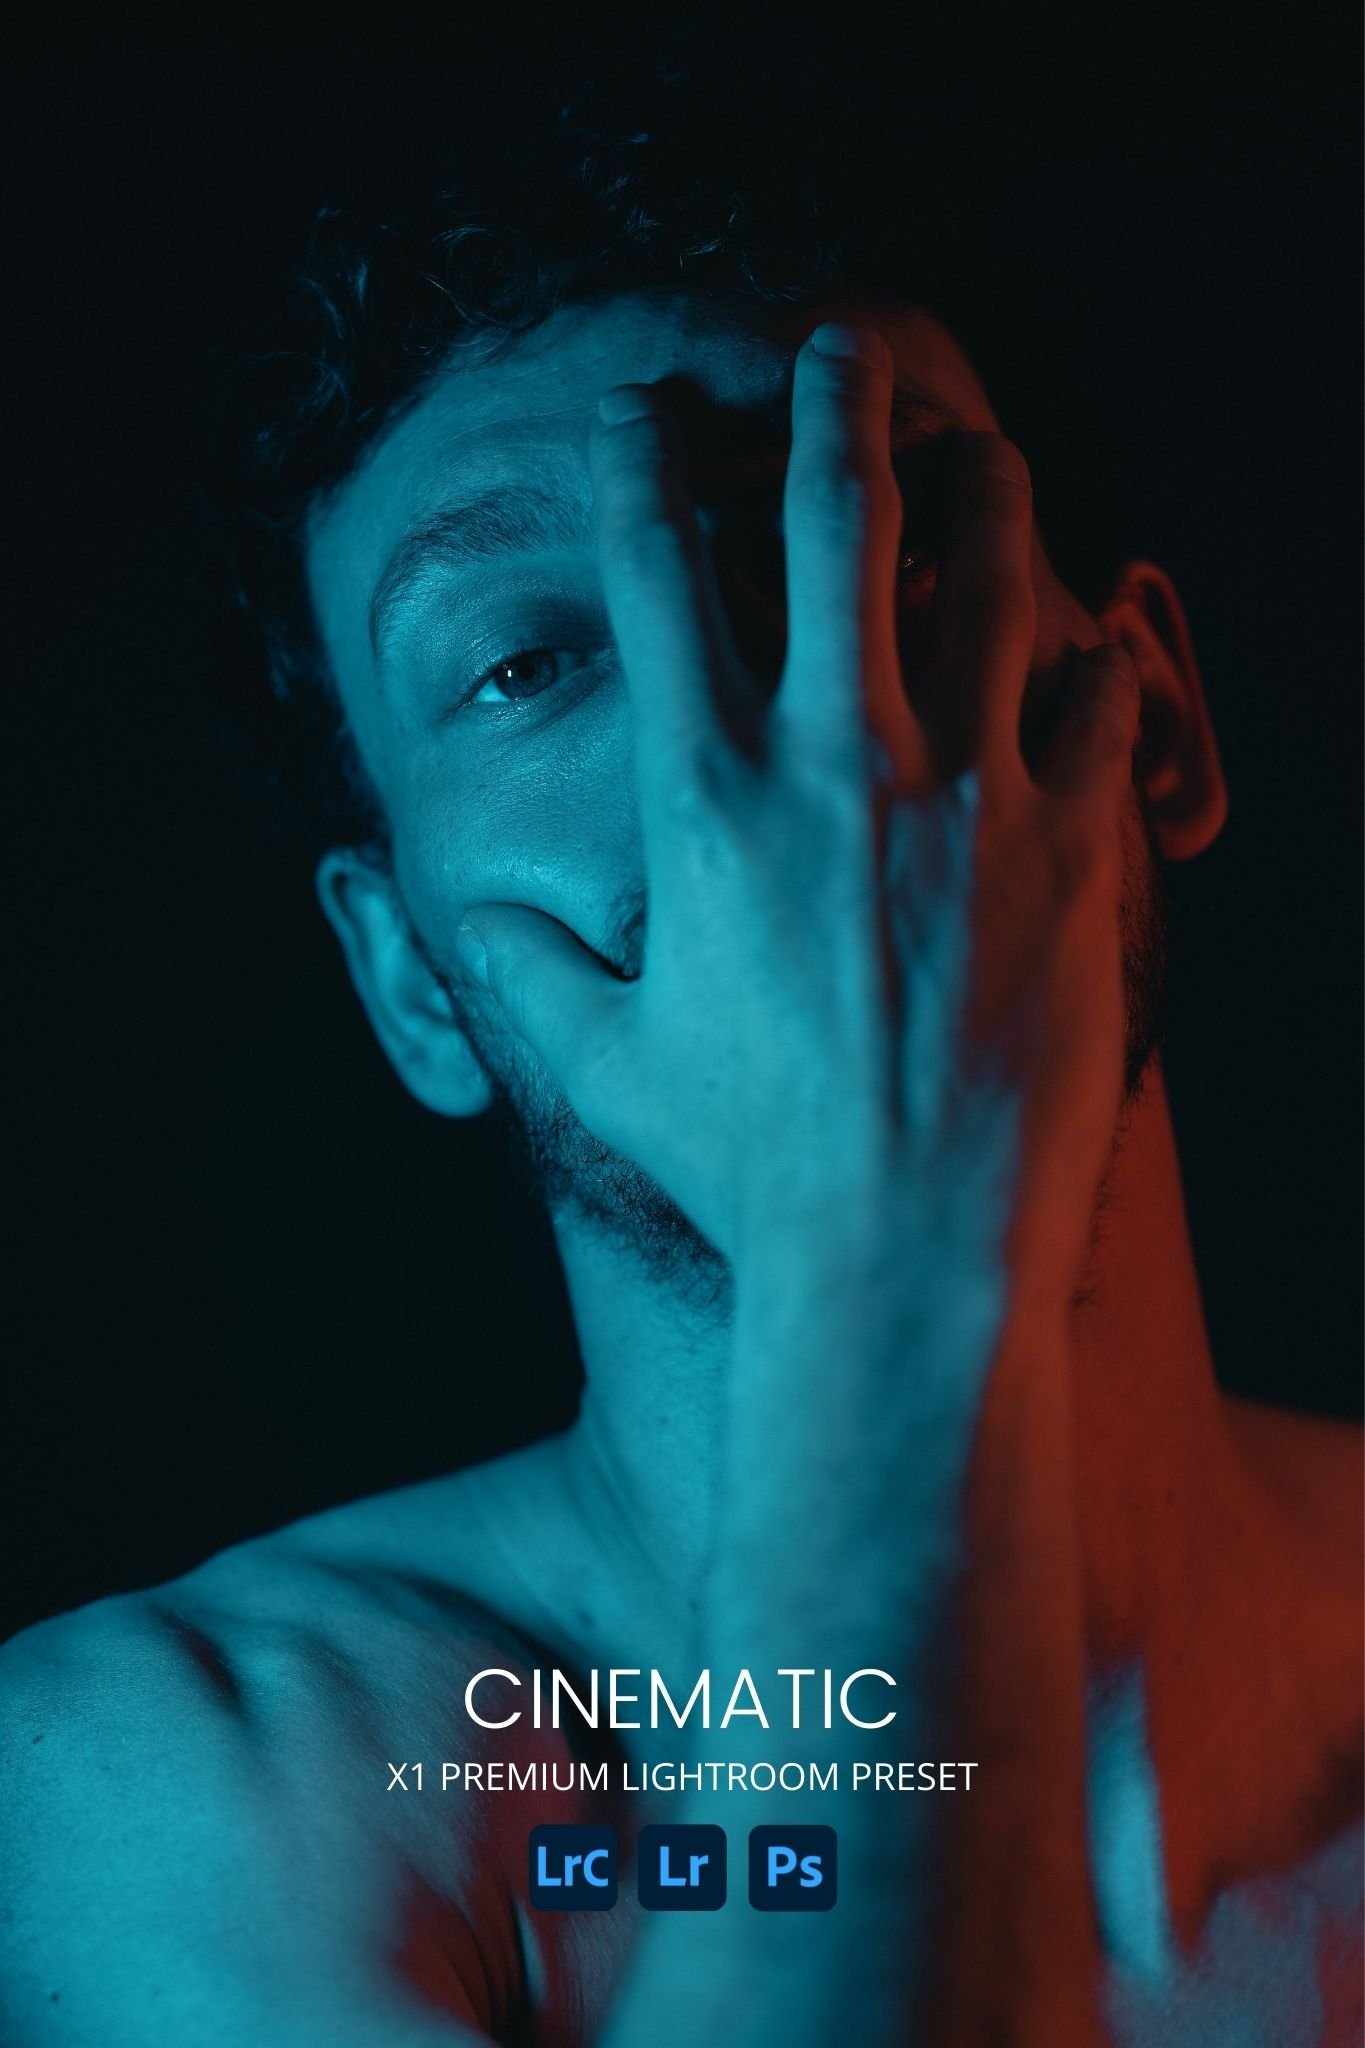
CHECK OUT MY TRAVEL AND EDITORIAL COLLECTION LIGHTROOM PRESETS TO EDIT IN JUST ONE CLICK!


PIN THIS ARTICLE ON PINTEREST ↓↓
