4 PHOTOSHOP TOOLS YOU MUST KNOW AS A PORTRAIT PHOTOGRAPHER
AN EASY TO FOLLOW VIDEO EXPLAINING THE 4 MAIN PHOTOSHOP TOOLS YOU NEED TO KNOW TO RETOUCH PORTRAIT PHOTOGRAPHY LIKE A PRO!
Hi guys! In this video, I explain the 4 main photoshop tools I use religiously in every single picture. Yes, it’s oriented to portrait photography BUT, you will use it for any picture really… You will learn how to eliminate distractions from your photos, imperfections or even how to comb the hair of your subjects! :D
I will summarise below, but if you want to start editing as a professional photographer, watch the video above.
• Don’t forget to subscribe to my Youtube Channel for weekly videos about photography and creativity!
1. SPOT HEALING BRUSH TOOL
This tool is the best for very small details. You don’t need to sample, you just need to pick the tool, set up the right size and click on the imperfection. Photoshop does an AWESOME job, try it!
Very useful and my favourite to eliminate little spots, dust that you may have on the sensor of the camera or on the lens. It’s also amazing to remove that unwanted thin hair on the face of your model.
2. PATCH TOOL
The king tool to remove bigger details, like big imperfections, logos on the clothing (if you shoot for stock photography like me), and even unwanted persons in your pictures.
I use this a lot! And you will want to use it as well if you want to focus attention on your subject. You will be able to remove everything you want that distracts the attention of the viewer.


3. CLONE STAMP
This one is the best tool to use when Photoshop struggles to do a good job with the patch tool or the healing brush.
You sample next to the thing you want to remove (preferably with a very soft brush) and then paint over it to literally copy what you sampled.
To sample in MAC: Option Key + Click
To sample in Windows: ALT + Click
I also use this tool to soften wrinkles, unwanted shadows, under eyes’ bags etc. Sampling and painting with a very low opacity. Watch the video to understand better. It’s totally worth it!
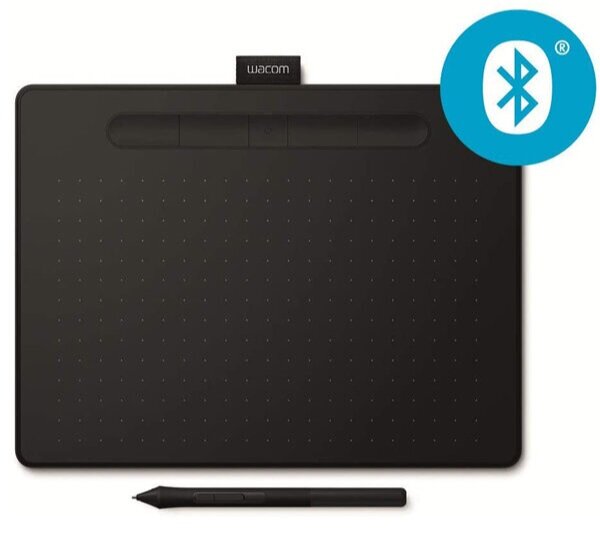
This is the Graphic Tablet I edit all my work with. The best one I’ve ever had and very recommended by many professional photographers. Click the image to see all the details and description. It will make a huge difference if you're still editing with a mouse!
4. LIQUIFY FILTER
You can do infinite things with this filter! In this video, I show you how to use it to fix the hair of your models/subjects.
I shoot outdoors many times and the wind can be very challenging. With this tool, you will be able to fix the hair. Give it more or less volume and move it around.
I also show you an example of how to shrink and make features bigger. You can use it to fix certain parts of your models. Even to make them look skinnier!
I hope you enjoyed this post guys! These are my favourite Photoshop tools and they did improve my editing game a lot! Let me know below your thoughts or questions!
THIS IS THE SOFTWARE I USE TO EDIT ALL MY PICTURES:
• Adobe Photography Bundle: Get the deal here!
• Luminar AI: No subscription AI software. Get it here and use code LAURA at check out!
- CHECK OUT THESE ARTICLES:
How to Make Money with Photography in 2021 even if you are just a beginner!
How to Edit a Professional Portrait Super Quick! - Luminar AI Tutorial
If you want to learn more, Subscribe to my Youtube channel for weekly videos about Photography, Tutorials and Creative inspiration! I hope to see you there!
CHECK OUT MY EDITORIAL COLLECTION LIGHTROOM PRESETS FOR THAT HIGH-END EDITING IN A CLICK!

PIN THIS ARTICLE ON PINTEREST ↓↓
